Welcome back to my series on sourdough! Today in part 2 we are jumping in and baking a Basic Sourdough Bread loaf. Please don't be intimidated. I've tried to include enough tips and information to set you up to succeed and get a lovely loaf in no time! Stay tuned for Part 3 where we will be breaking down the how's and why's of shaping and scoring dough. No need to wait for Part 3 to get baking though. Have fun, and pass the butter!
Making bread at home is one of my very favorite activities. There’s just something so rewarding about creating something so wonderful from so few ingredients. It’s all about the technique, which is my very favorite aspect of cooking and baking. I just love that the exact same ingredients can be turned into several different things depending on what you do to them and in what order you do them. It’s fascinating.
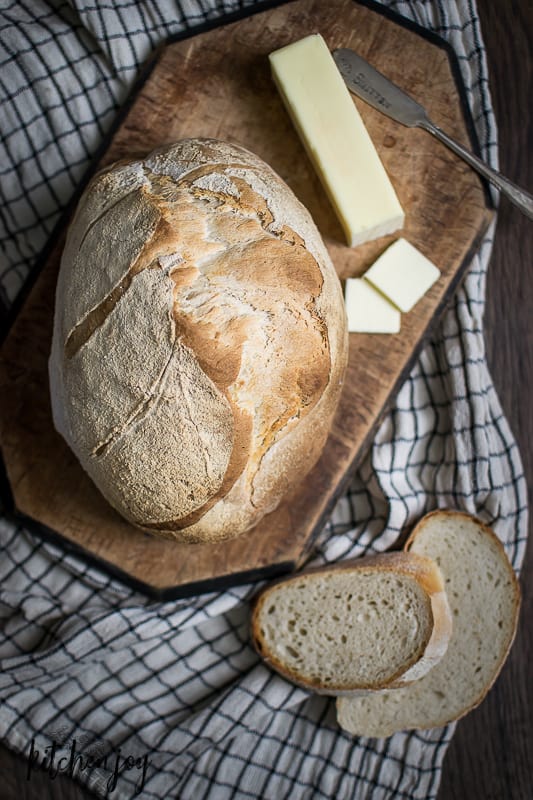
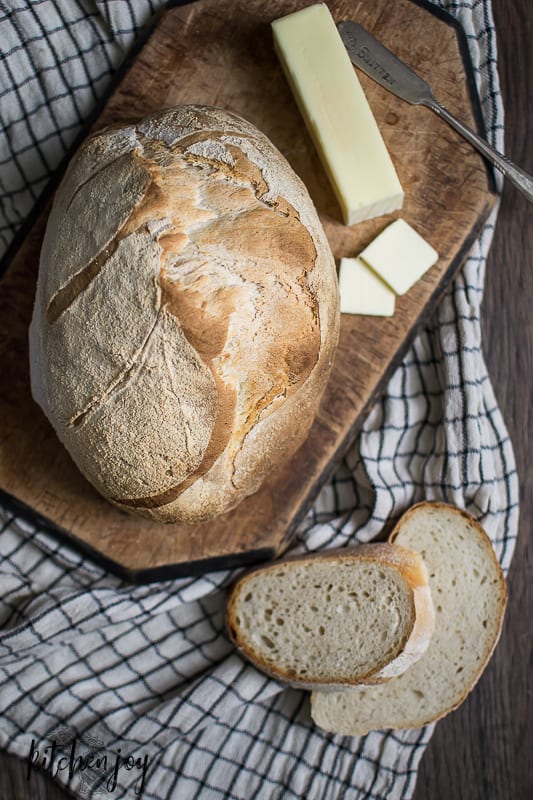
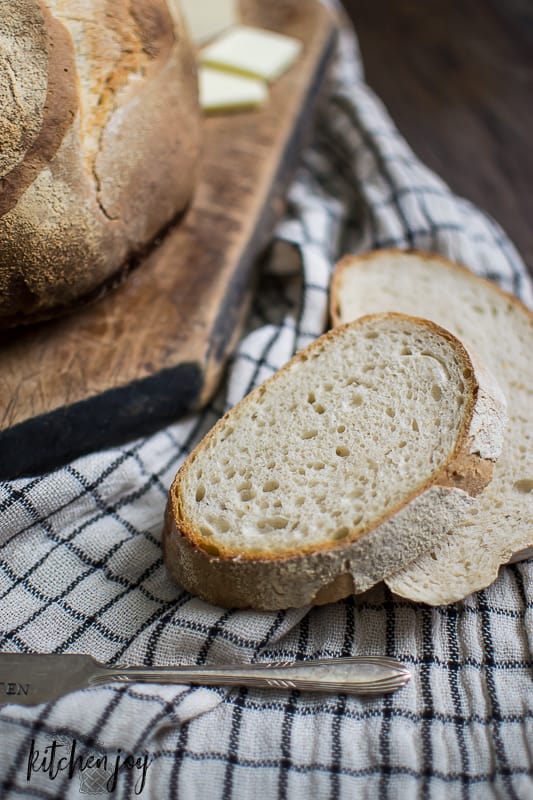
Today’s focus is on a classic sourdough loaf. I’ve tested and tweaked the recipe to make it as forgiving as possible, so no worries if you haven’t had much experience with bread baking. This is the perfect basic sourdough bread recipe to hone your skills. Because a sourdough starter needs to be fed on a regular basis, that provides ample opportunity/excuse to bake up a couple more loaves every week. (If you missed Part One- The Starter, be sure to check it out and learn everything you need to know to make your own sourdough starter. You'll need a starter in order to make this basic sourdough bread or any of the other sourdough recipes coming up later in this sourdough series.)
A few things to keep in mind that can affect the outcome of your sourdough bread:
1. Ambient temperature. If it is quite chilly or drafty in your home, it can take much much longer for the dough to rise. Always watch for the dough to be doubled or nearly doubled in size instead of just letting the dough rise for the amount of time listed in the recipe. For best flavor and yeast development, dough should be allowed to rise at a room temperature in the high 70’s. If it is very cool in the house, use slightly warmer water in the recipe. If it is extremely warm in your kitchen, use a little bit cooler water.
2. Humidity. You might find that when the weather has been particularly rainy, stormy, humid, the loaves might not rise up in the oven as much as they might on a normal day. Don’t let the weather stop you from baking if you want to bake, but just keep in mind that you might notice a difference in the amount of lift that the dough has. You may also find that your dough is much more sticky than normal, which is to be expected in extremely humid temperatures. Even the flour in your pantry can pick up some of the added moisture in the air, which would then yield a wetter dough than you might typically be used to when making that same recipe in the winter. To offset this extra humidity, just try reducing the amount of water by a small amount, about a tablespoon or two.
Alternatively, extremely dry climates can also have an affect on your sourdough loaves. To offset the dry air during baking, place a cast iron skillet on the floor of the oven when you preheat the oven. As soon as you transfer the dough to the oven, toss a few ice cubes into the skillet. This will provide an initial burst of steam in the oven to help create enough humidity to bake a lovely loaf.
3. Yeast activity. For this Basic Sourdough Bread recipe, I’ve written it to include a small amount of instant yeast in addition to the natural yeast that is present in the sourdough starter. This is a bit of added insurance for a nicely risen loaf without an extremely long rising time. This recipe works really well without the added yeast as well, but it will require an overnight rise because the natural yeast in the sourdough starter is not as active as packaged instant yeast.
4. Amount of time since last sourdough starter feeding. The amount of time that has passed since the sourdough starter’s last feeding affects two aspects of the sourdough bread: The rise/lift and the tangy flavor that sourdough is known for. Sourdough bread that is baked only a day or so after feeding the starter will typically have a higher rise due to the increased yeast activity after a feeding, but it will not have as much of the signature tangy flavor because it hasn’t had long enough for the flavor to develop. I have found that taking my starter out of the fridge at about day 4 after a feeding and letting it rest at room temperature for 12-18 hours is the sweet spot for my starter.
Be sure to check back next time for Part 3, which is all about shaping and scoring sourdough and can help you elevate your bread-baking skills even further!
A Study in Sourdough: Part 2- Basic Sourdough Bread
- Prep Time: 5
- Cook Time: 30
- Total Time: 35 minutes
- Yield: 2 loaves 1x
Ingredients
225 g (1 cup) 1 cup fed sourdough starter, fed between 2 and 5 days ago
355g (1 ½ cups) lukewarm water
1 ½ teaspoons instant yeast
2 ½ teaspoons sea salt
710g (5 cups) all-purpose flour
Cornmeal for dusting pan
Instructions
In a large bowl, combine sourdough starter and water until incorporated. Sprinkle yeast over the surface and let sit about 3 minutes. Add flour and salt and stir until dough comes together.
Transfer dough to the bowl of a stand mixer fitted with a dough hook. Knead dough on medium-low speed until smooth and elastic, about 5-7 minutes. (You can certainly also do this by hand as I often do.)
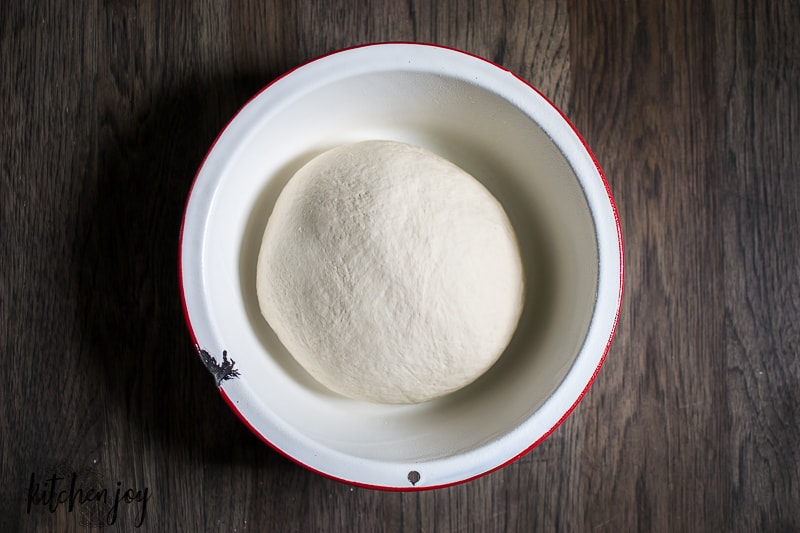
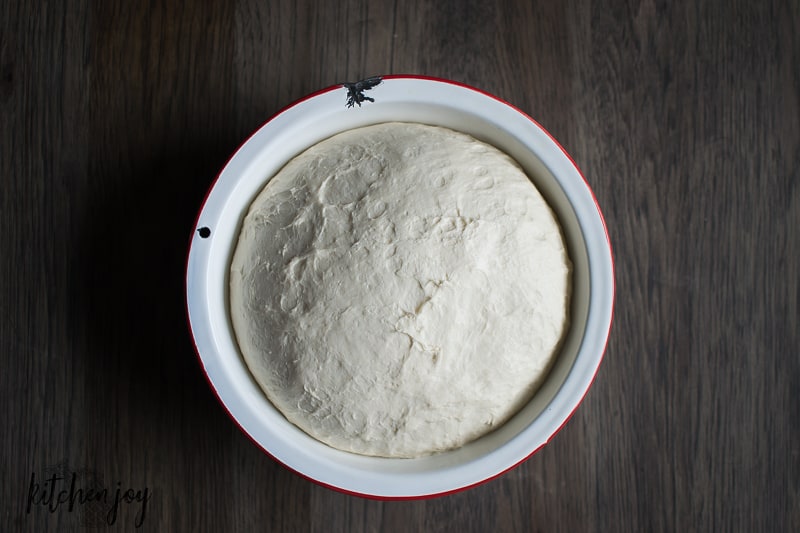
Loosely cover bowl with plastic wrap until doubled in bulk, about 2 hours.
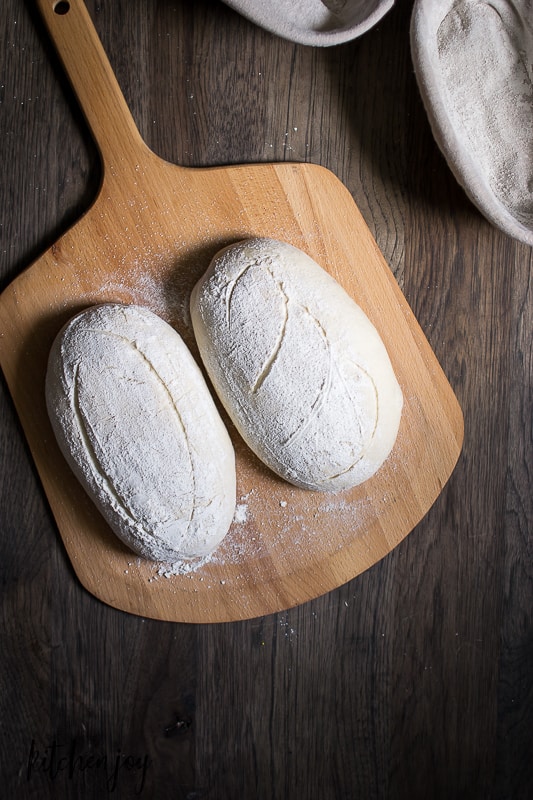
Divide dough in half and shape into loaves. Arrange loaves in proofing baskets or on a board or baking sheet sprinkled generously with cornmeal. Cover and let rise until nearly doubled, about 1 hour.

Place a baking stone on the center rack and preheat oven to 425°F while loaves are rising.
Transfer dough from proofing baskets (if using) onto a board sprinkled generously with cornmeal. Cut slits in top of dough using a very sharp knife or razorblade.
Once oven has been heated to 425°F for at least 30 minutes, carefully slide the dough onto the hot baking stone.
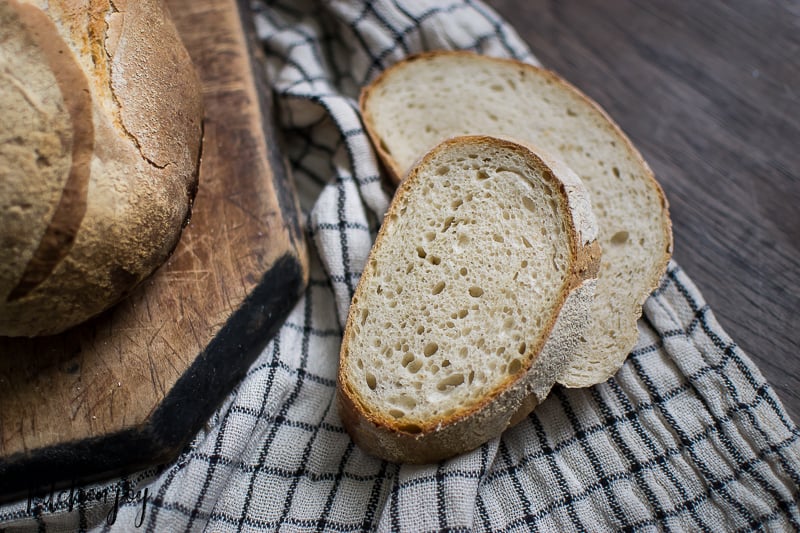
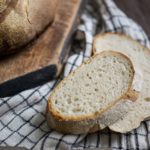
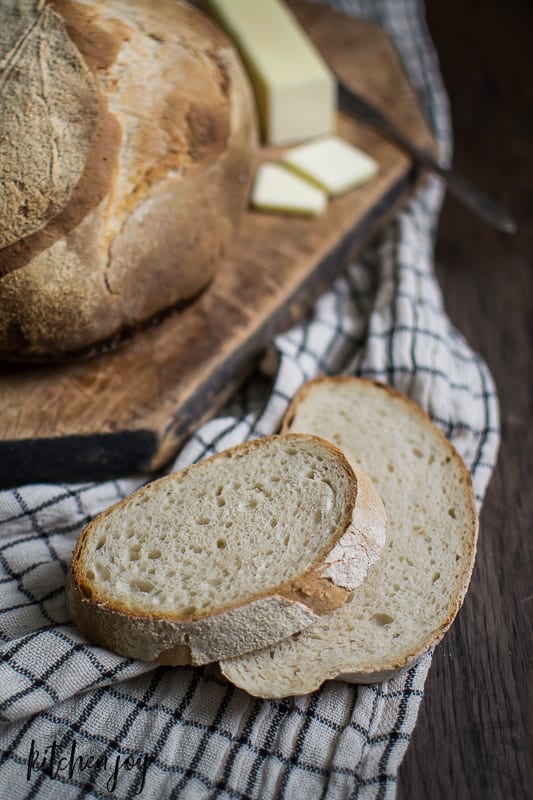
Bake 30 minutes or until deep golden.
Transfer to wire rack to cool completely before slicing.
Notes
*See notes above regarding adjustments for various climates and temperatures.
**To make this recipe using only naturally occurring yeast, simply omit the instant yeast and increase the first rise to 12-24 hours.
Keywords: sourdough starter, homemade sourdough bread, classic sourdough recipe,

Thanks so much for visiting Kitchen Joy today! I hope you've found something you're excited to try. Don't hesitate to reach out to me with any questions you might have. I would love to help!