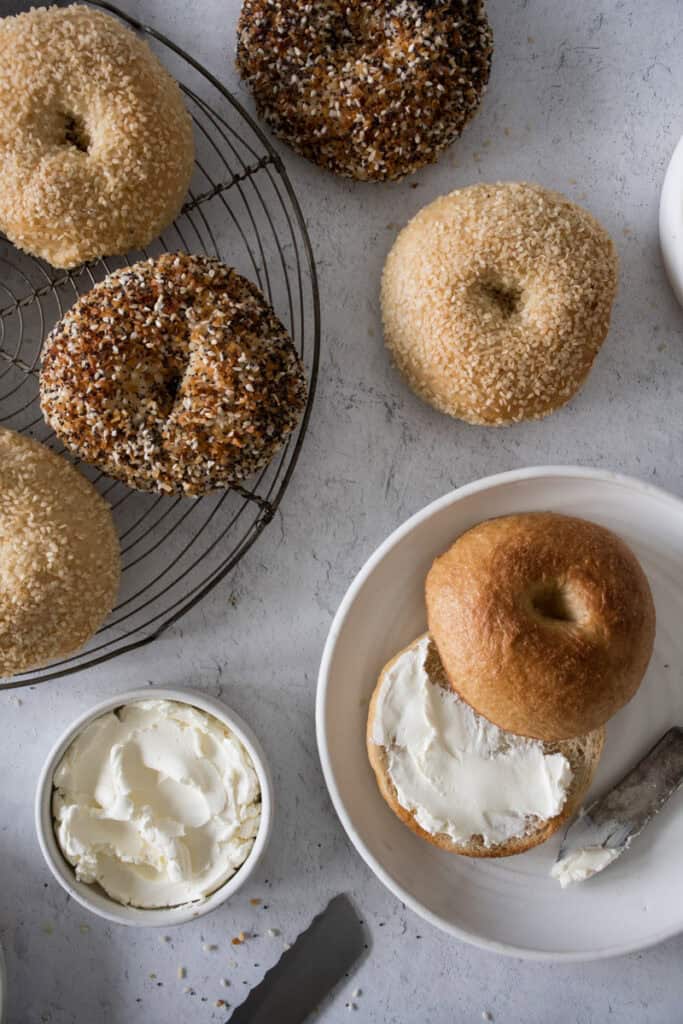
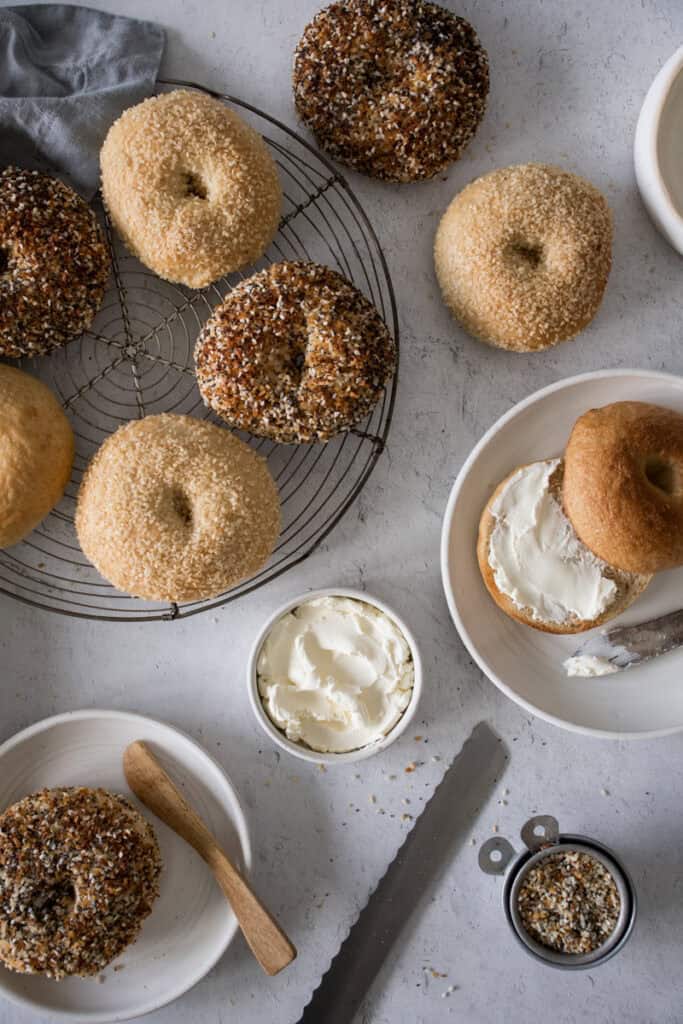
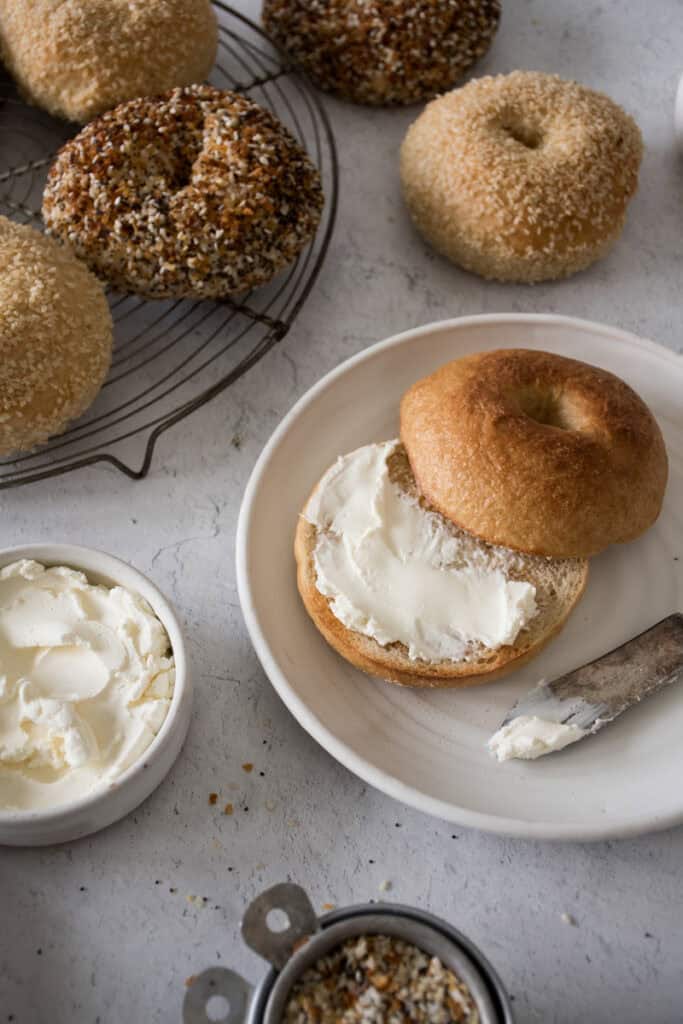
Homemade Sourdough Bagels are an upgraded twist on a breakfast staple. Perfectly soft yet chewy centers, with a beautiful crust and the subtle tang from sourdough starter, these bagels are worth making every week. Don’t let the idea of making homemade bagels intimidate you. They’re not as complicated as you might think. I’ve included the foolproof method I’ve been enjoying for the past year or so, and a few tips and tricks to ensure your success. Give these a try and you’ll be loving them for breakfast, or my personal favorite, for a fantastic sandwich at lunchtime.
Before you start, plan accordingly.
Determine your timeline.
For best flavor, texture, and workability of the sourdough bagel dough, I recommend making the dough the day before you intend to bake them so the dough can proof overnight. If you need to complete the entire process in one day, you’ll need to add the optional yeast as noted in the recipe. This will speed up the proofing process enough to get through the recipe in one day if you start in the morning and your starter is already active.
Gather your supplies/ingredients.
For the classic golden color and authentic bagel flavor, using barley malt syrup is recommended. I really like the color, flavor, texture of the dough and the resulting bagels when I use barley malt syrup. Barley malt syrup can be a bit tricky to find in the grocery store, but it’s typically available at places like Whole Foods. I’ve used Eden Organic Traditional Barley Malt Syrup many times with great success. It is available on Amazon here. https://amzn.to/4b1Y1Ve If you don’t have barley malt syrup, no worries, honey works very well too. I also use honey when I’m making colorful bagels for my daughters so the dough isn’t quite as dark and the coloring shows better.
In order to prevent the dough from sticking to the parchment paper, you’ll need to dust the surface of the parchment with semolina flour https://amzn.to/4hUB6NJ . I use semolina for dusting surfaces when making pizza, English muffins, etc, so it’s worth having on hand for many uses. I prefer using semolina for dusting the surface instead of regular flour because it adds a nice texture without turning too dense/gooey like regular flour tends to especially when boiled. If you do choose to use all-purpose flour to dust your parchment, just be mindful not to go too heavy on it.
During the boiling process, you’ll need a strainer of some kind for removing the delicate dough from the boiling liquid. I prefer using a spider strainer like this one https://amzn.to/3QfSoc7 , but if you have a very large slotted spoon that works well too.
You’ll also need:
3 rimmed baking sheets (Bonus points if you have a lid for your baking sheet like this one https://amzn.to/40RvUmO , since it works perfectly for covering the dough in the fridge and/or keeping your bagels fresh. I save so much on plastic wrap since I’ve gotten a couple of lids like these.)
Parchment paper. You’ll need a few sheets of parchment paper for this recipe, and for best results, I’ve recommended in the recipe to cut one of the sheets into 8 equal squares. This helps so much in transferring the proofed bagel dough into the boiling liquid without messing up your beautifully risen bagels.
A wire rack for draining the boiled bagels before transferring to the baking sheet for the oven.
How to make sourdough bagels at home.
The steps to make homemade sourdough bagels are simple.
Make the dough. Throughout my testing, I found that I preferred the results when I used my stand mixer to work the dough before moving on to the stretch and folds during bulk fermentation (the first proof). It makes it so much easier to reach windowpane status (read about the windowpane test here) and allows me to start washing some dishes while the mixer does the heavy lifting for me. You can absolutely knead the dough by hand as well if you prefer, just be sure to work it enough for reach windowpane.
Bulk fermentation. The amount of time required for bulk fermentation will vary depending on various factors, especially how active your starter is, and the temperature in which your dough is proofing. At room temperature, I find that my bagel dough does really well when left to bulk ferment overnight. If you’re using added commercial yeast, or if you’re in a hurry, I’d recommend proofing in a warmer environment, like an oven set to proof mode. If you are using added commercial yeast, do not let your dough proof overnight as it will overproof. The key is for your dough to have doubled in bulk. It should be puffy and bubbly and should pull away from the sides of the bowl fairly easily.
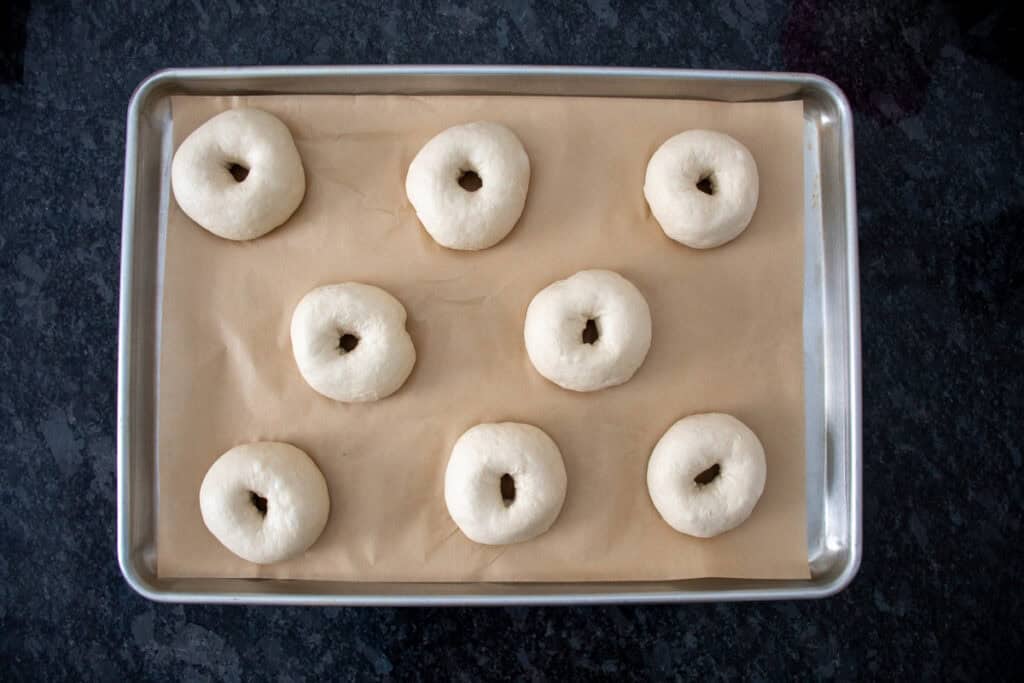
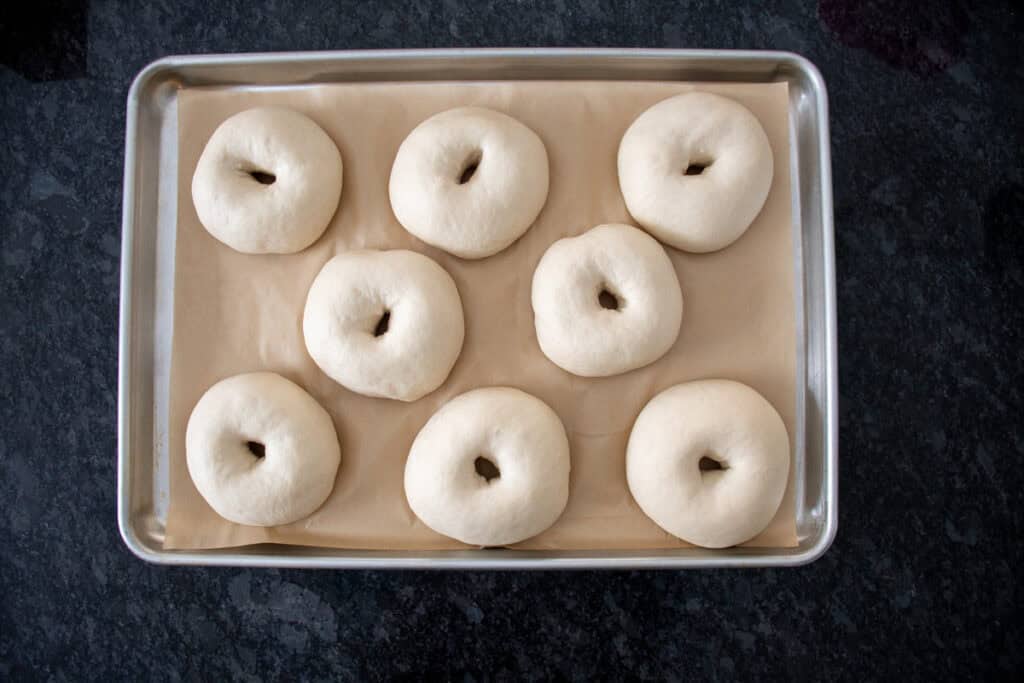
Divide and shape. Line a baking sheet with a sheet of parchment paper that has been cut into 8 equal squares. Arrange the squares onto the baking sheet and dust with semolina. Divide the dough into 8 equal portions, about 110-115 grams each. Roll each portion of dough into a ball, and press a hole through the center, stretching to expand the opening. (You could also roll the dough into long lengths and then pinch the ends together to form a circle, but I do not like having a seam to deal with as it could fall apart during boiling, and typically the bagels look a bit uneven when they’re shaped that way.) Arrange each shaped bagel onto one of the pieces of floured parchment. Repeat with remaining portions of dough. Cover and let rest for 15 minutes, then stretch openings again if the dough has shrunken a bit. Cover again and let proof at room temperature until nearly doubled. (This step can also be done in the fridge for several hours/overnight, then let finish proofing at room temperature in the morning.)
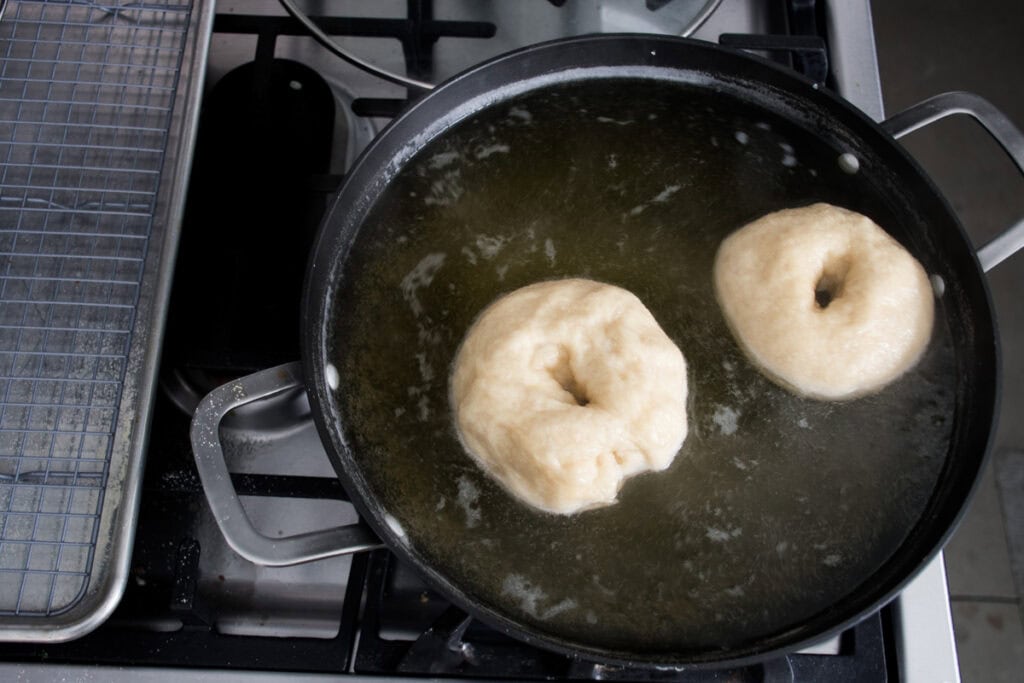
Boil and bake. When the bagel dough is nearly finished with the second rise, add a tablespoon of baking soda and 2 tablespoons of barley malt syrup or honey to a pot of water and bring to a boil. While water comes to a boil, preheat the oven. Boil bagels 30-60 seconds per side (my preference is around 45 seconds, but 60 seconds will result in a more chewy crust), then transfer to a wire rack over a baking sheet to drain for a few minutes.
Line another baking sheet with parchment and sprinkle with semolina. The bagels will look a bit deflated and wrinkly at this point, not to worry, they'll puff up nicely when baked. Transfer the boiled bagels to the prepared baking sheet. Brush with egg wash, sprinkle with seasoning if desired, and bake at 375°F for 15-20 minutes until golden brown and internal temperature reaches 200°F on an instant read thermometer. (If using everything bagel seasoning, I prefer baking at 350°F for 20-25 minutes to prevent the seasoning from scorching.) Let cool on wire rack. Enjoy!
The form you have selected does not exist.
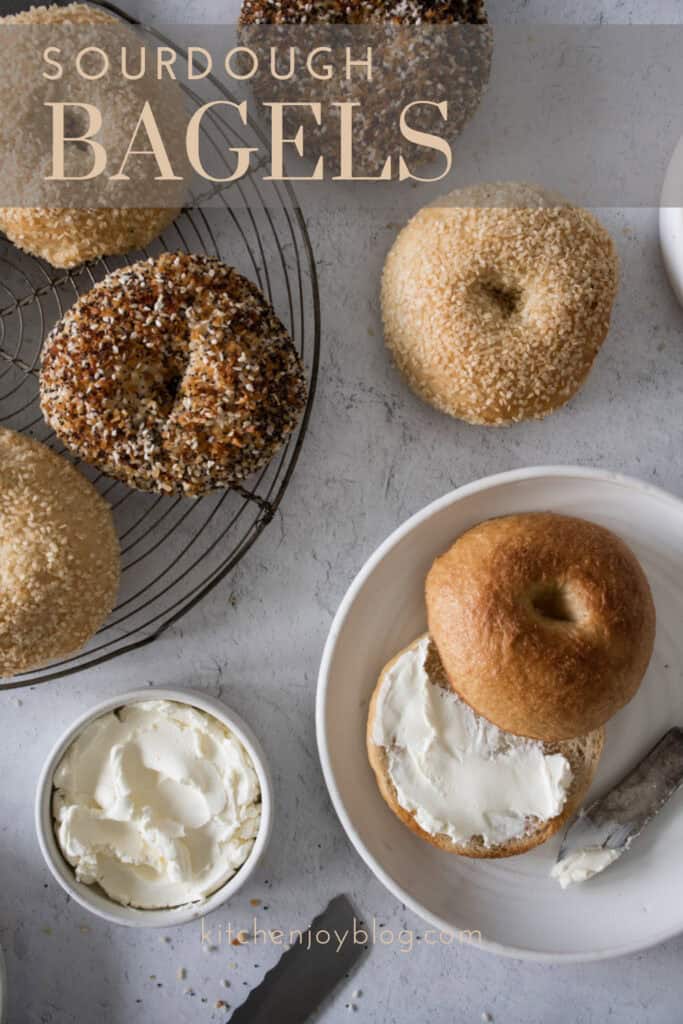
Sourdough Bagels
Homemade Sourdough Bagels are an upgraded twist on a breakfast staple. Perfectly soft yet chewy centers, with a beautiful crust and the subtle tang from sourdough starter, these bagels are worth making every week. Give these a try and you’ll be loving them for breakfast, or my personal favorite, for a fantastic sandwich at lunchtime.
- Proof time:
- Cook Time: 20 minutes
- Total Time: 12-24 hours
- Yield: 8 bagels 1x
- Category: sourdough, baking, breakfast, bread
Ingredients
245 g. warm water
100 g. active starter
2 tablespoons barley malt syrup OR honey
½ teaspoon instant yeast (optional)
500 g. bread flour
2 tablespoons unsalted butter, very soft
2 teaspoons fine sea salt
For boiling:
1 tablespoon baking soda
2 tablespoons barley malt syrup OR honey
Egg wash (1 egg yolk lightly beaten with 2 teaspoons water)
Semolina flour for dusting
Desired toppings (everything bagel seasoning, sesame seeds, poppy seeds, flaky salt, etc.)
Instructions
In the bowl of a stand mixer fitted with the dough hook, combine water, starter, barley malt syrup, yeast (if using), and bread flour on low/medium speed to form a shaggy dough. Once flour has incorporated, very gradually add softened butter in several additions, continuing to mix on low/medium until smooth. Turn off mixer and cover bowl for 20 minutes, then return to low/medium speed and add in the salt. Continue kneading with dough hook and adjust speed to medium high for about 5 minutes until dough achieves windowpane status.
Cover and bulk ferment at room temperature overnight (shorten time if using the optional yeast). In the first hour, do stretch and folds twice at 30 minute intervals, then let rest undisturbed until doubled and nice and bubbly. Dough should pull away from sides of bowl easily.
Cut a piece of parchment paper into 8 squares. Arrange on a rimmed baking sheet and sprinkle with semolina.
Divide into 8 equal portions, about 110-115 grams each. Shape into balls and form a hole in the center of each ball. Arrange onto prepared baking sheet, 1 donut per parchment square.
Cover and let rise until nearly doubled. After 30 minutes or rising, stretch center openings a bit more and then cover and let continue rising.
Preheat oven to 375°F.
Boil a large pot of water with 1 tablespoon baking soda and 2 tablespoons barley malt syrup.
Boil bagels 2-3 at a time for 30-60 seconds per side, then transfer to a wire rack set over a baking sheet to drain excess liquid.
Transfer boiled bagels carefully to baking sheet lined with parchment paper and dusted with semolina.
Brush with egg wash, then top with seasonings if desired.
Bake at 375°F for 15-20 minutes until golden and internal temperature reaches 200°F.
(If using everything bagel seasoning, I prefer baking at 350°F for 20-25 minutes to prevent the seasoning from scorching.)
Let cool completely before slicing or storing.
Notes
To make colorful bagels, add coloring to the liquid before adding the flour when making the dough. This is the easiest way to get the color incorporated evenly. It is quite difficult to knead coloring into the dough once it's already been formed.
Keywords: sourdough, bagels, homemade bagels, baking,
Looking for more sourdough favorites?
Try this Soft Sourdough Sandwich Bread- it's one of the most popular recipes on my site for a reason!
Comments
No Comments