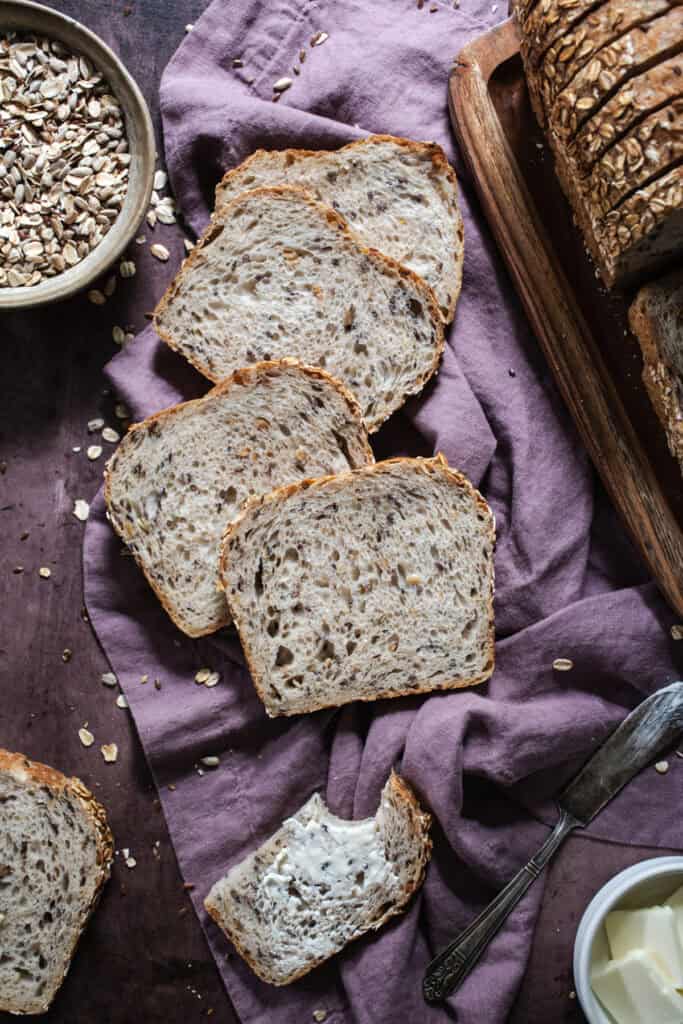
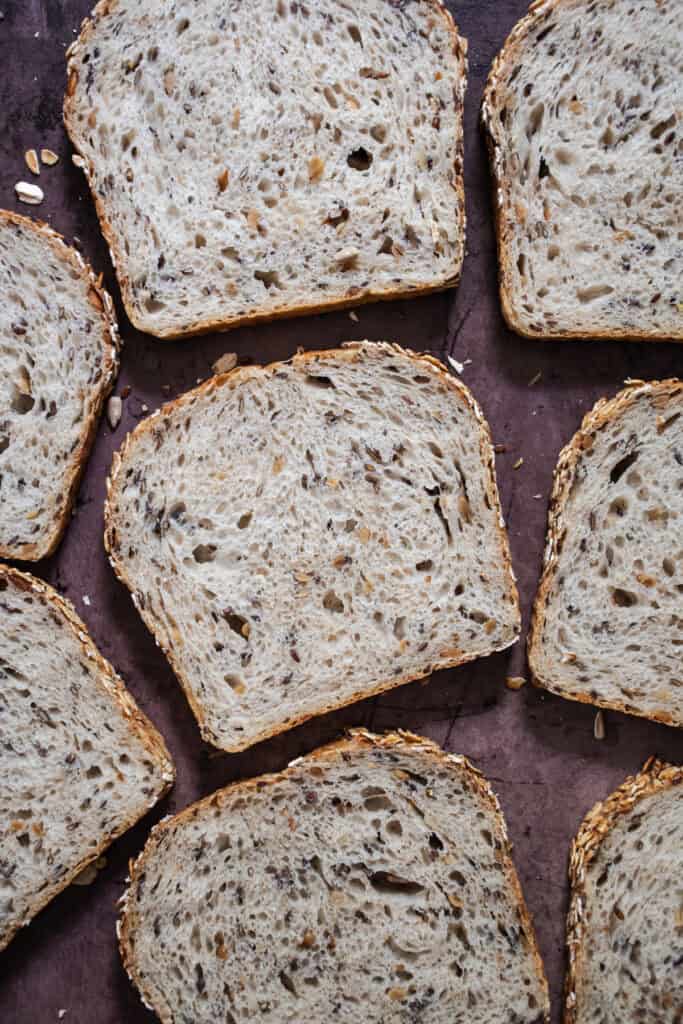
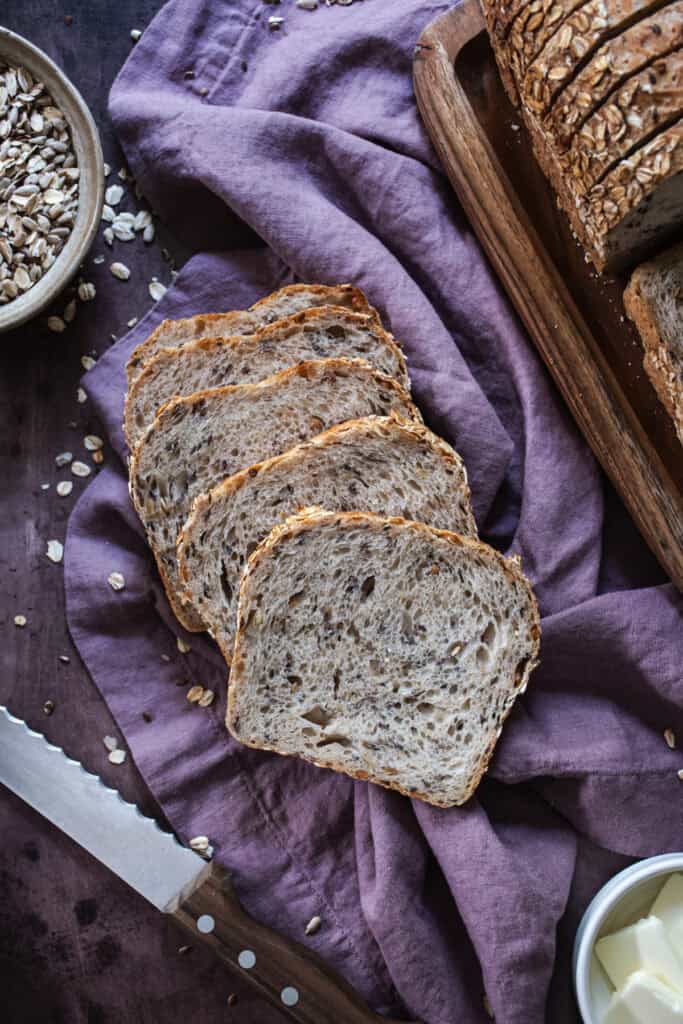
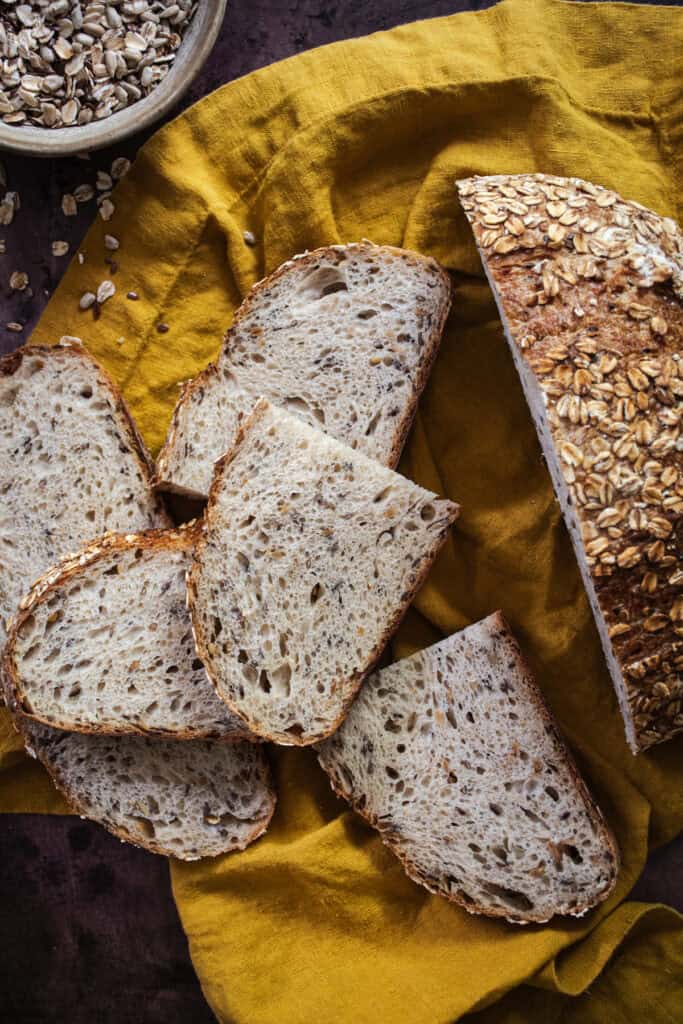
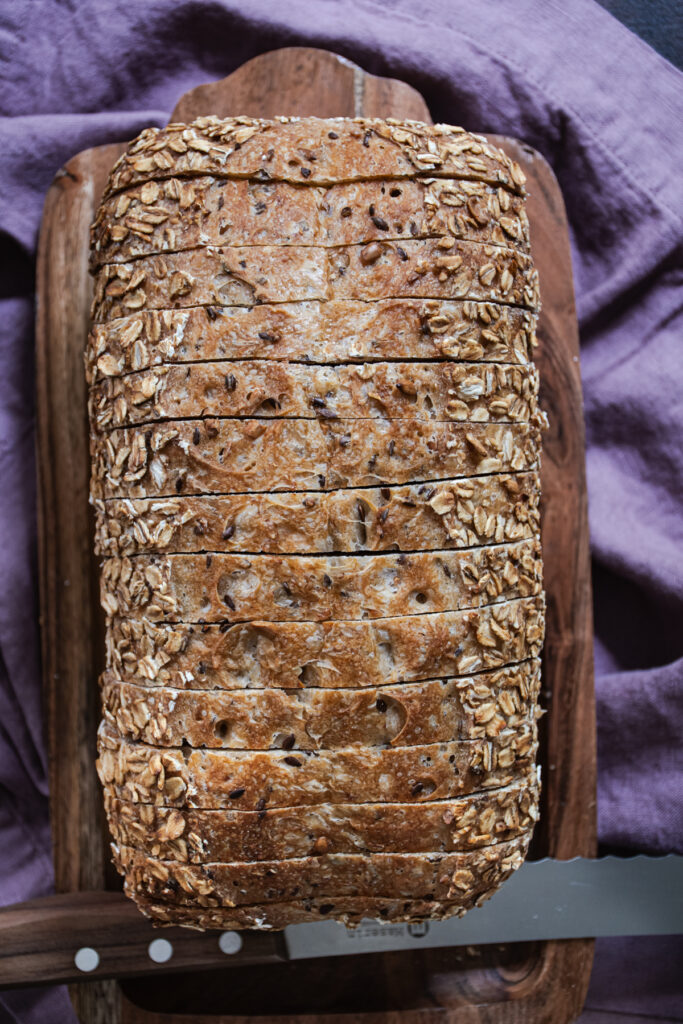
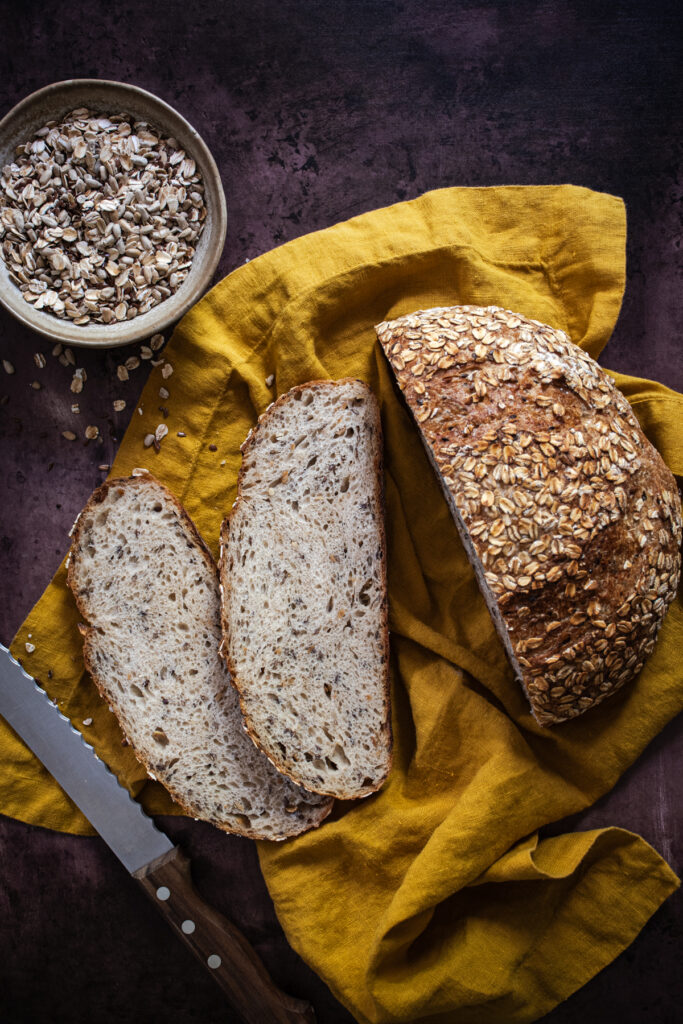
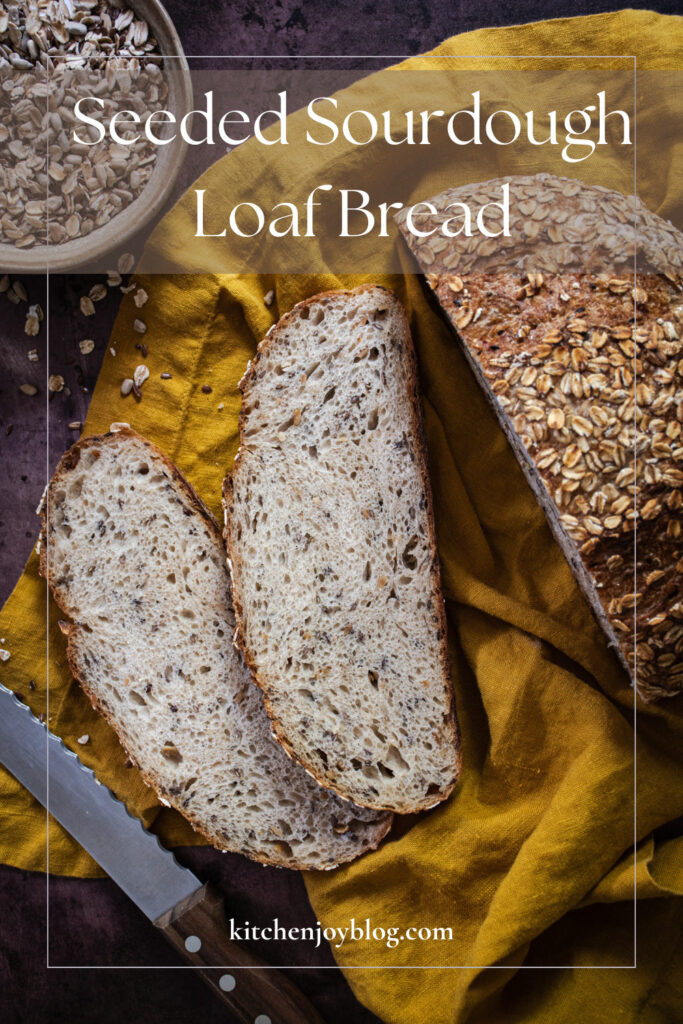
This might be my favorite sourdough recipe I’ve created in quite a while. I set out months ago to recreate a loaf similar to one from a local bakery and after many, MANY rounds of testing, I am happy to report that this Seeded Sourdough Bread recipe is foolproof, trustworthy, and absolutely fantastic. Not too dense or heavy, this loaf delivers on flavor and texture, soft and fluffy with a nutty flavor and perfect amount of crunch. It can be made in a loaf pan (my favorite) or as a freeform round loaf, totally up to you. I've included instructions and photos for both shaping methods.
How to Make Seeded Sourdough Loaf Bread
For this recipe, we’re going to be using the autolyse method. Basically, the autolyse method means that you mix the flour and the water in the recipe first and let it rest for about an hour before adding the yeast or any remaining ingredients. This allows the flour the first opportunity at absorbing the water before the salt or anything else is competing for the liquid. The purpose is to allow the flour to fully hydrate and the gluten to begin developing which makes for a smoother, easier to work with dough, and for this particular recipe, it helps the seed mixture to be more easily incorporated and tends to rise better than the batches I tested without the autolyse resting period.
The most important part of making seeded bread is maintaining an equal ratio of liquid to seeds/grains so that you’re not adding or taking away too much moisture to your dough. For this recipe, we are creating a “seed soaker” which means we are going to be soaking our seeds and grains overnight to soften and hydrate them. I also add the salt from the recipe to my seed soaker which allows the salt to dissolve and is one less ingredient to add to the dough at mixing time. For the seed soaker, you need to have equal parts water to seeds/grains. In this recipe, we will be using 100 grams boiling water and 100 grams total seeds/grains. This step is done the night before mixing the dough at the same time you feed your starter, that way the starter and the seed soaker can rest overnight and be ready in the morning. As far as which seeds and grains you use, that’s up to you, but my preference is a combination of rolled oats, sunflower kernels, and whole flax seeds. I do not recommend chia seeds in bread recipes due to their gel-forming properties, chia seeds tend to give a loaf of bread a gummy texture. It’s also my personal preference that I don’t love the somewhat bitter aftertaste that poppy seeds add to a loaf of bread. It overpowers the gentle nuttiness from the seeds and the signature sourdough flavor that we’re looking for. Again, use whichever seeds and grains you prefer, but I thought I’d share my findings since I’ve tried so many versions and seed combinations.
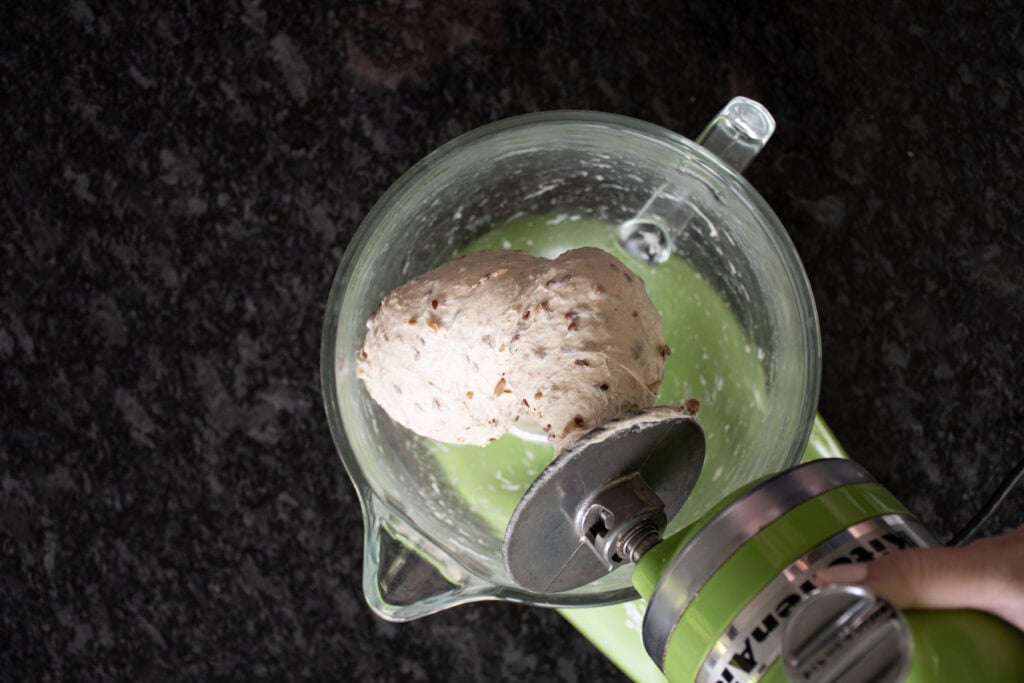
Using a stand mixer for this recipe is essential, in my opinion. I’ve tested it several times with hand mixing and while it can be done, it is quite sticky and difficult to incorporate the seed mixture and the dough really needs a lot of mixing, so it’s not one I would recommend doing by hand.
If using a mixer, this is an incredibly easy and simple recipe to make, since you’ll be mixing the autolyse in the mixer, then just adding the starter and seed soaker one hour later, then letting the mixer do the majority of the work. DO NOT DOUBLE THIS RECIPE IN A STAND MIXER. It would be too large for a non-commercial stand mixer to handle. To make 2 loaves, make the recipe twice in a row instead of doubling the ingredients at the same time.
If you haven’t made a seeded bread loaf before, it’s important to keep in mind that seeded dough tends to proof a bit slower than plain dough due to the seeds weighing down the dough.
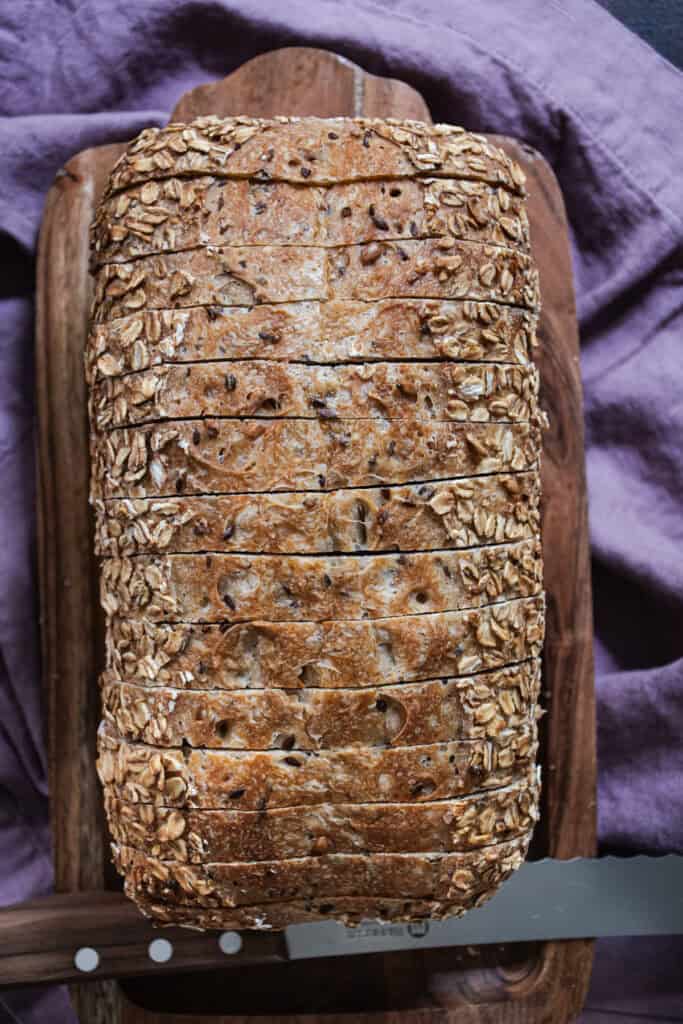
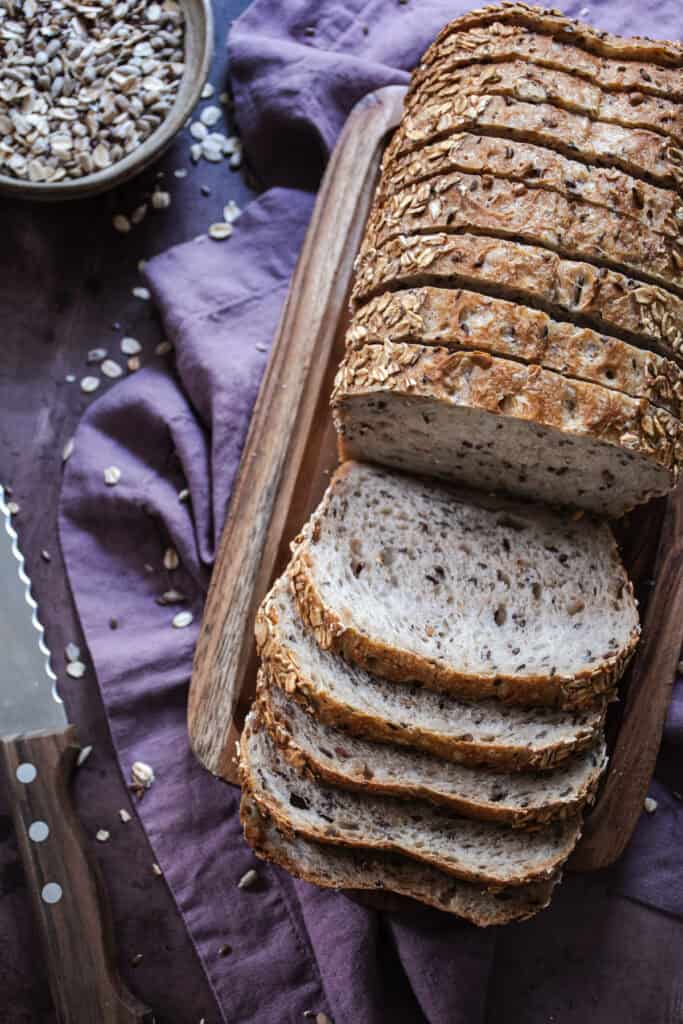
I’ve included instructions for making this Seeded Sourdough Recipe in a loaf pan and also for making it as a freeform round loaf. I prefer the loaf pan method, but since this loaf rises best when baked covered, I recommend using the 2 loaf pan method which involves covering the loaf with an inverted loaf pan as the lid. Keep in mind when you make this that you’ll need 2 identical loaf pans to use the loaf pan method. I prefer using aluminized steel loaf pans instead of aluminum. These USA Pan loaf pans are my favorite: https://amzn.to/4lc7w8r
If making a freeform round loaf, you'll need a proofing basket and Dutch oven.

A bit of steam helps encourage a good oven spring on your loaf, but I don’t typically prefer to do a huge steam setup in my oven, so I’ve been using a continuous mist spray bottle to mist the loaf with water before covering the dough when it goes into the oven. A continuous mist spray bottle also works great for helping adhere the oats to the surface of the dough. Once I bought one for my kitchen I’ve found myself using it often. This is the one I have: https://amzn.to/3Tmv3qU
Here's a step-by-step stop motion to show the entire process of making this Seeded Sourdough Loaf Bread with the 2 loaf pan method:
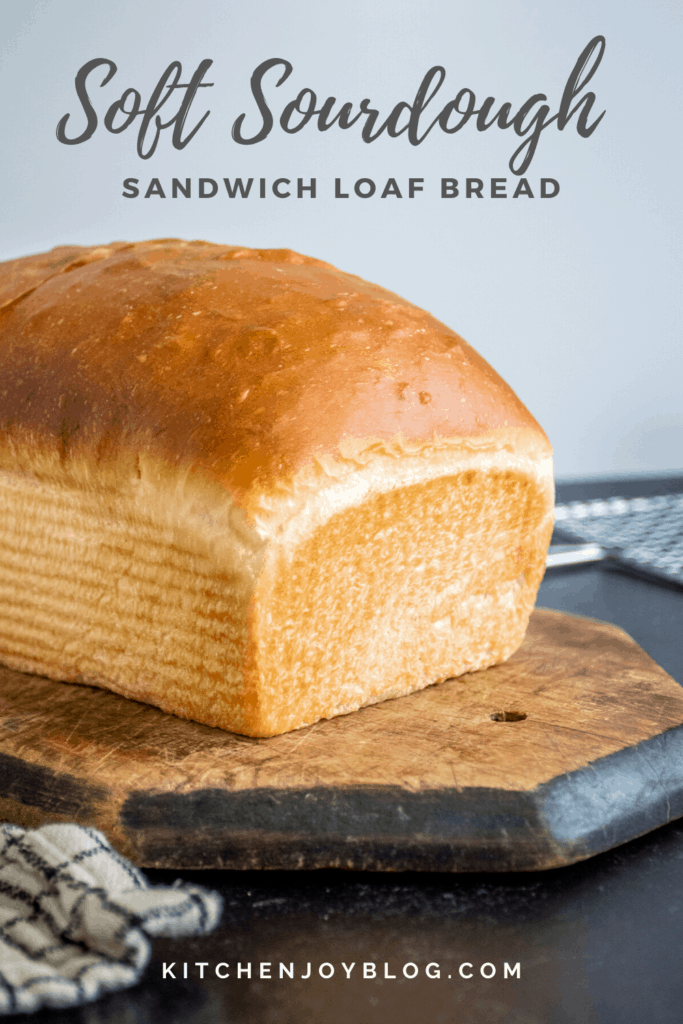
Looking for more sourdough recipes?
Try this Soft Sourdough Sandwich Bread. By FAR the most popular on my entire site for the past few years, you're sure to love this loaf. Perfect for sandwiches, toast, or just slathered with butter fora snack.
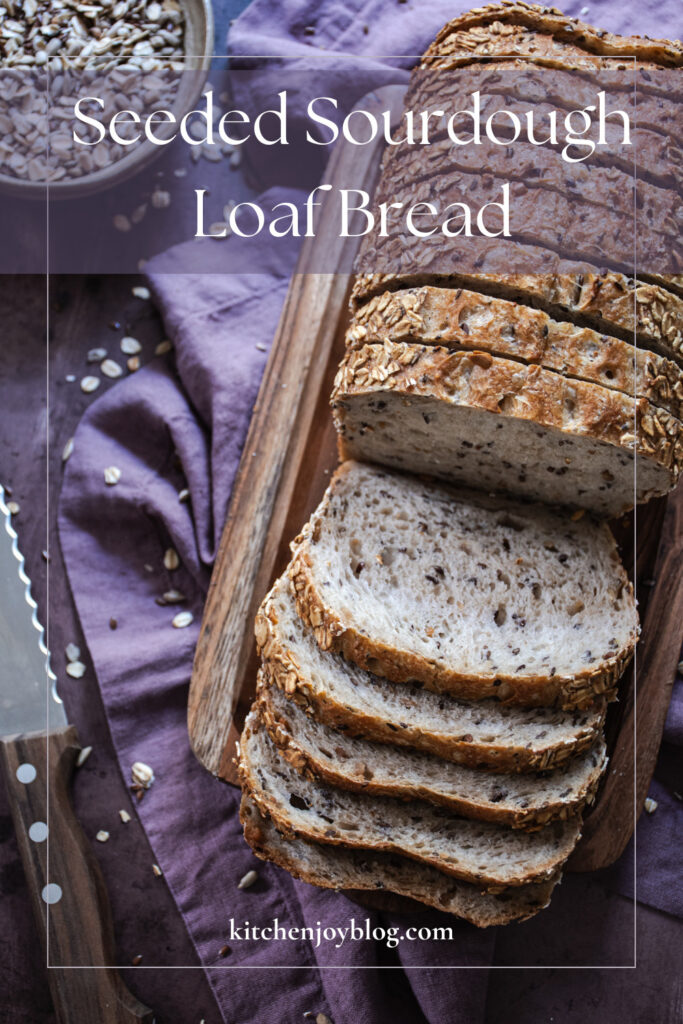
Seeded Sourdough Loaf Bread
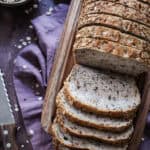
This Seeded Sourdough Bread recipe is foolproof, trustworthy, and absolutely fantastic. Not dense or heavy like many seeded loaves, this recipe delivers on flavor and texture, soft and fluffy with a nutty flavor and perfect amount of crunch. It can be made in a loaf pan (my favorite) or as a freeform round loaf.
- Yield: 1 loaf 1x
- Category: Sourdough
Ingredients
For the seed soaker-
100 grams boiling water
35 grams old fashioned oats, plus more for crust
35 grams sunflower kernels
30 grams whole flax seeds
2 teaspoons fine sea salt
150 grams active starter
For the autolyse-
235 grams water, lukewarm
325 grams bread flour
75 grams golden wheat flour or whole wheat flour
2 tablespoons softened butter
Instructions
Day 1, Evening:
-Feed starter to yield 150 grams. Let starter activate overnight at room temperature.
-Prepare seed soaker. Combine oats, seeds, and salt in a heatproof bowl. Add boiling water and stir to combine. Cover and let rest overnight at room temperature.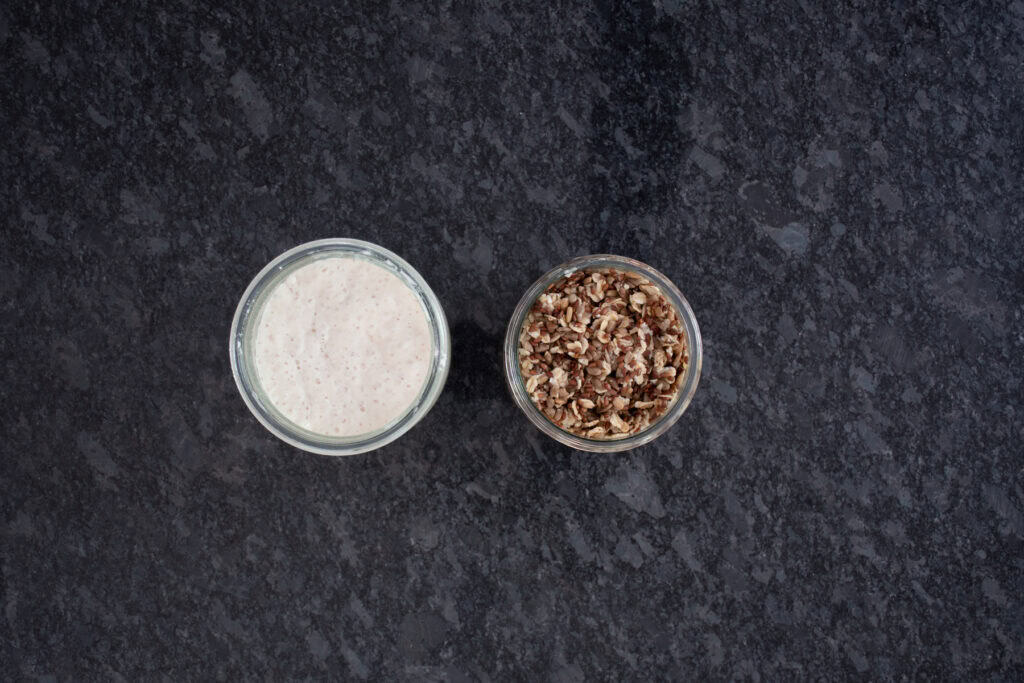
Day 2, Morning:
-Prepare the autolyse. In the bowl of a stand mixer fitted with the dough hook, mix the 235 grams of lukewarm water, 325 grams bread flour, and 75 grams of wheat flour until no dry pockets of flour remain. Scrape down bowl. Cover and let rest in a warm spot for 1 hour.
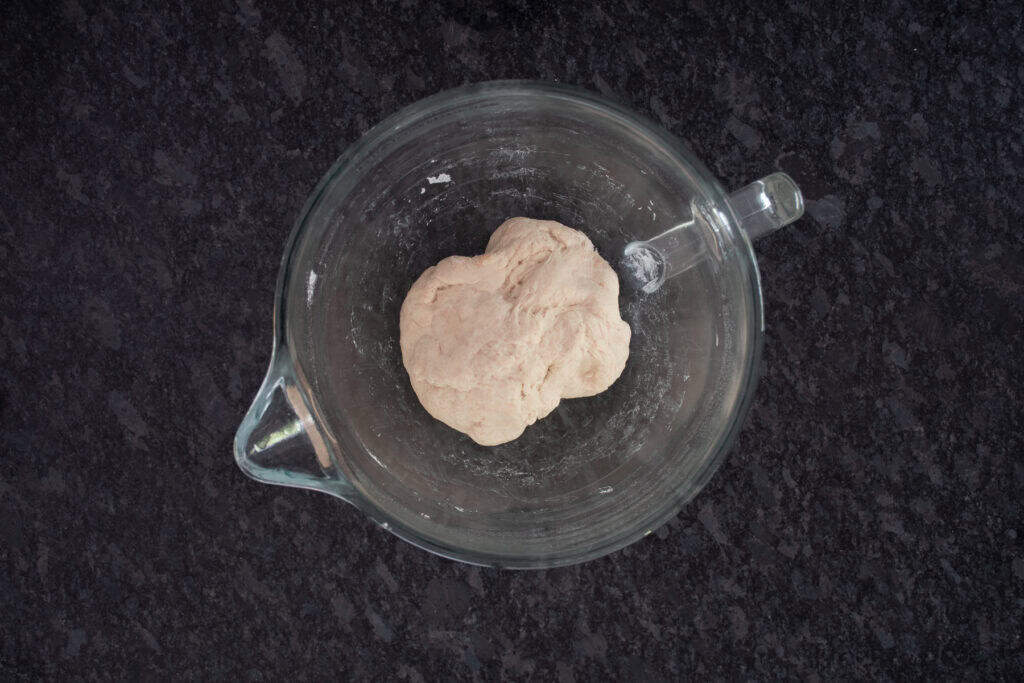
There will not be any yeast activity during this process, just protein development while also giving the flour the first chance at absorbing the water before adding the remaining ingredients. At the end of the hour the autolyse should be quite stretchy.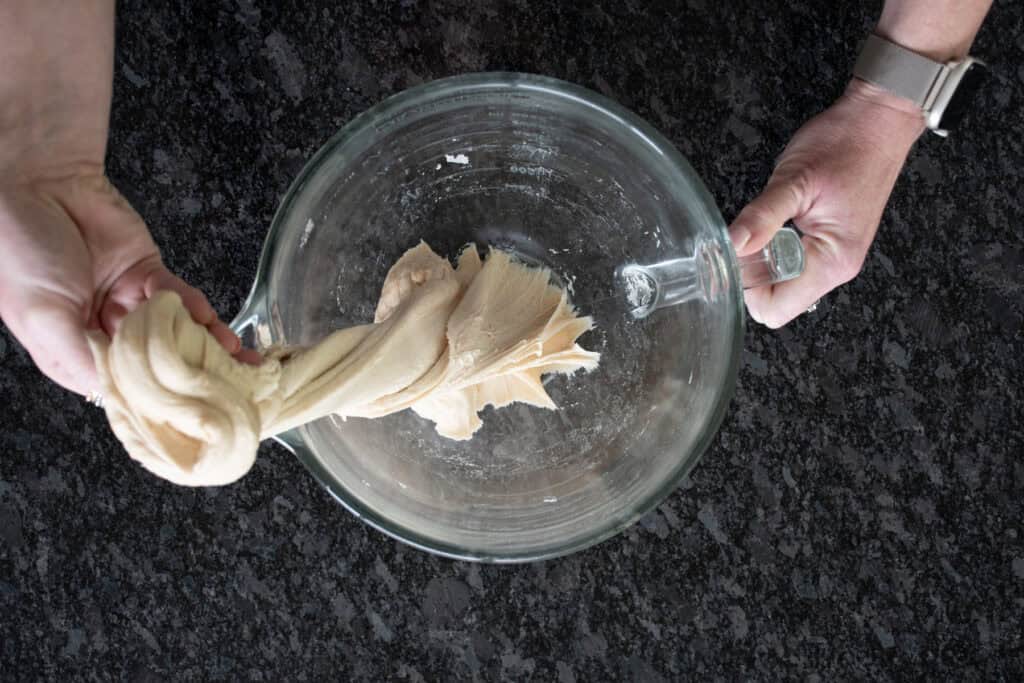
-Mix the dough: Add seed soaker, sourdough starter, and softened butter to the mixer bowl and mix on low speed with the dough hook until combined. Dough will be very sticky at this point. Increase speed to low/med and let mix for 7 minutes until dough has strengthened and the sides of the bowl are clean.
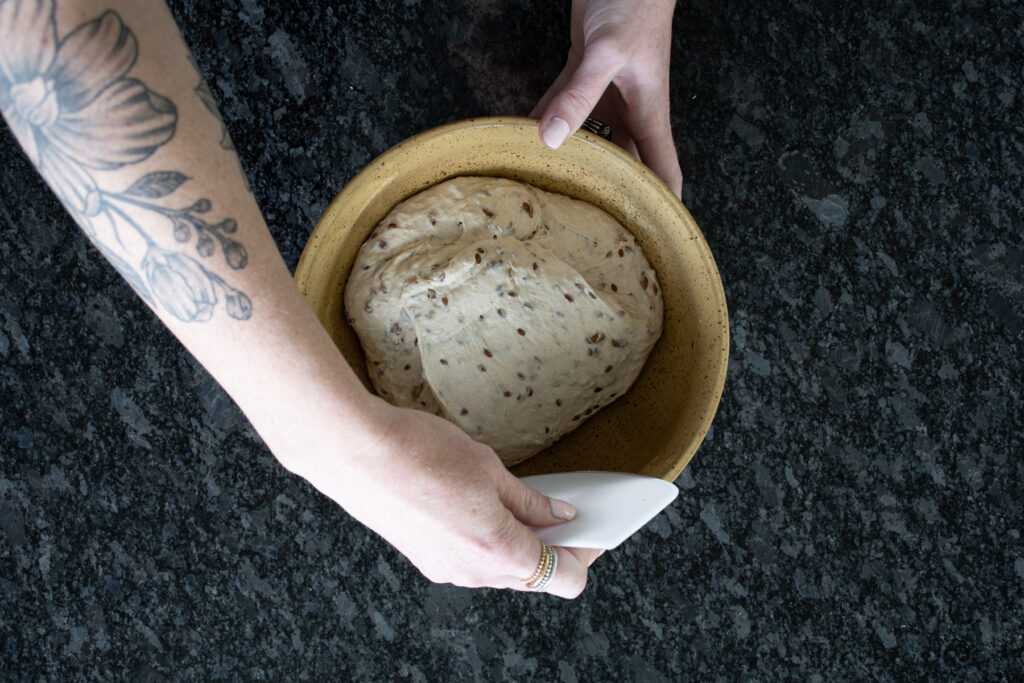
-Bowl folds. Transfer to a large bowl sprayed with nonstick spray. Cover and let rest 30 minutes, then do a set of bowl folds by using a bowl scraper and pulling the outside of the dough over the center, repeating 3-4 times working clockwise around the bowl. Cover and rest 30 more minutes and repeat bowl folds for a total of 3 set of bowl folds at the 30, 60, and 90 minute mark.
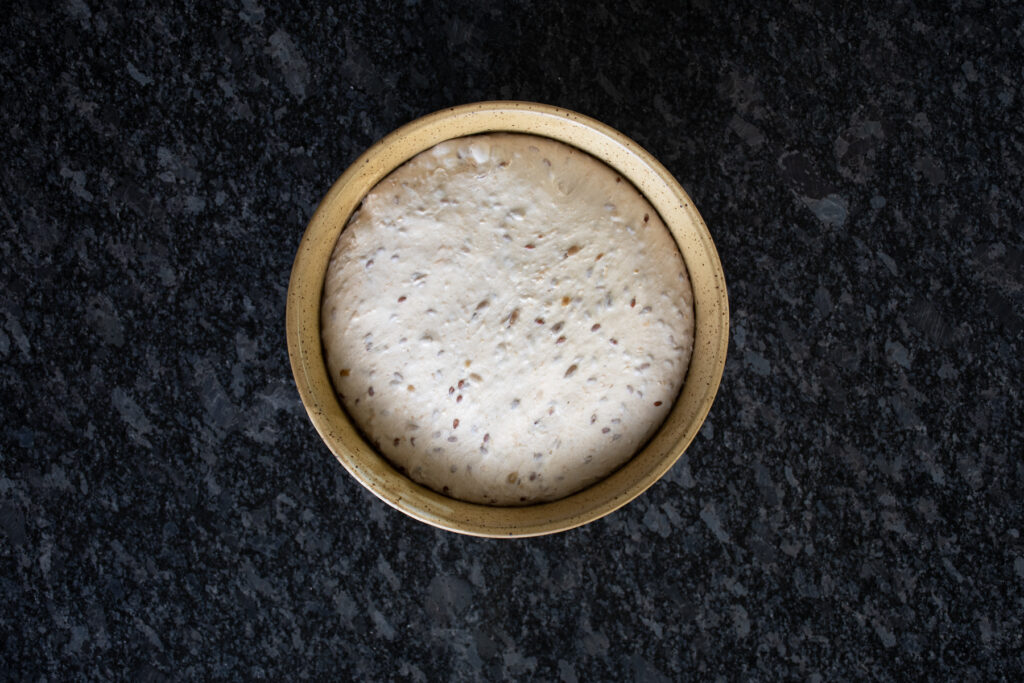
-Bulk fermentation: After the last bowl fold (90 minutes after mixing the dough), cover dough and let proof in a warm spot for 2-3 hours until risen and very jiggly, bubbly, and not sticking to the bowl. Be sure to stop bulk fermentation before the dough seems so delicate that it could deflate if jostled.
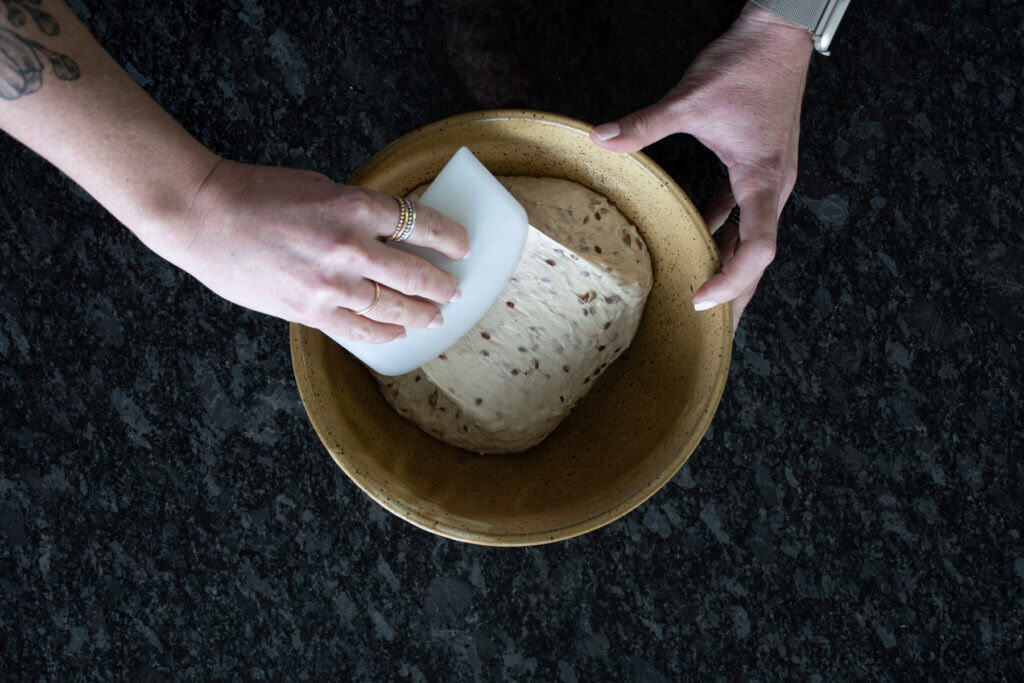
-Gently transfer dough to a floured surface. Try not to deflate the dough too much. Popping any huge bubbles is perfect, just don’t punch the dough down. Pre-shape into a round by using a lightly floured dough scraper and pulling edges toward the center and working your way around the dough clockwise. Cover with a large bowl turned upside down, then let rest for 15 minutes before final shaping.
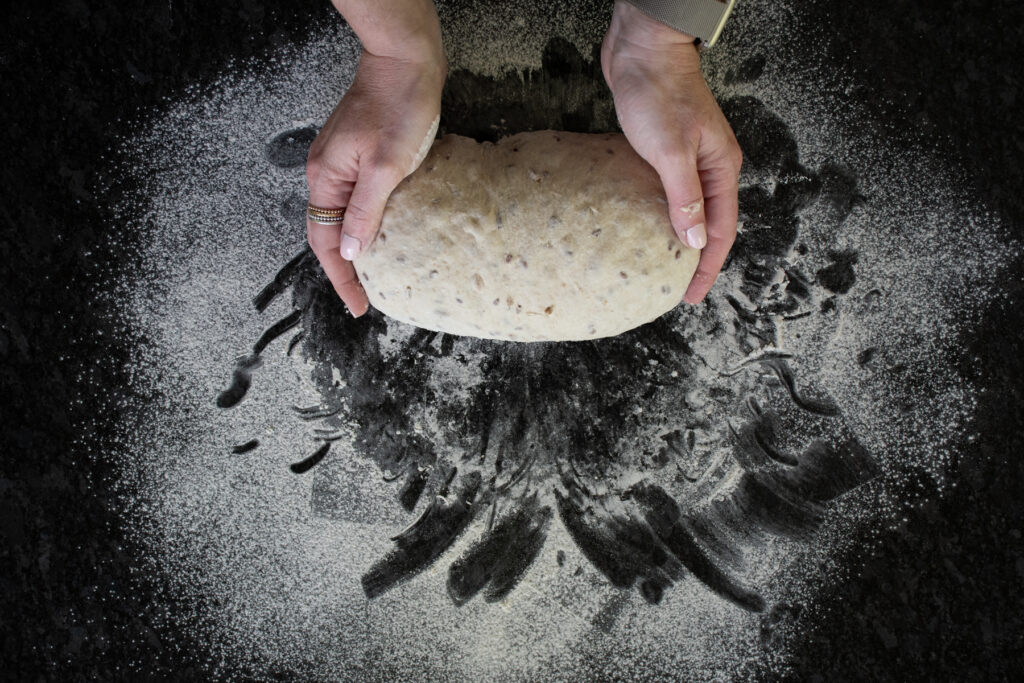
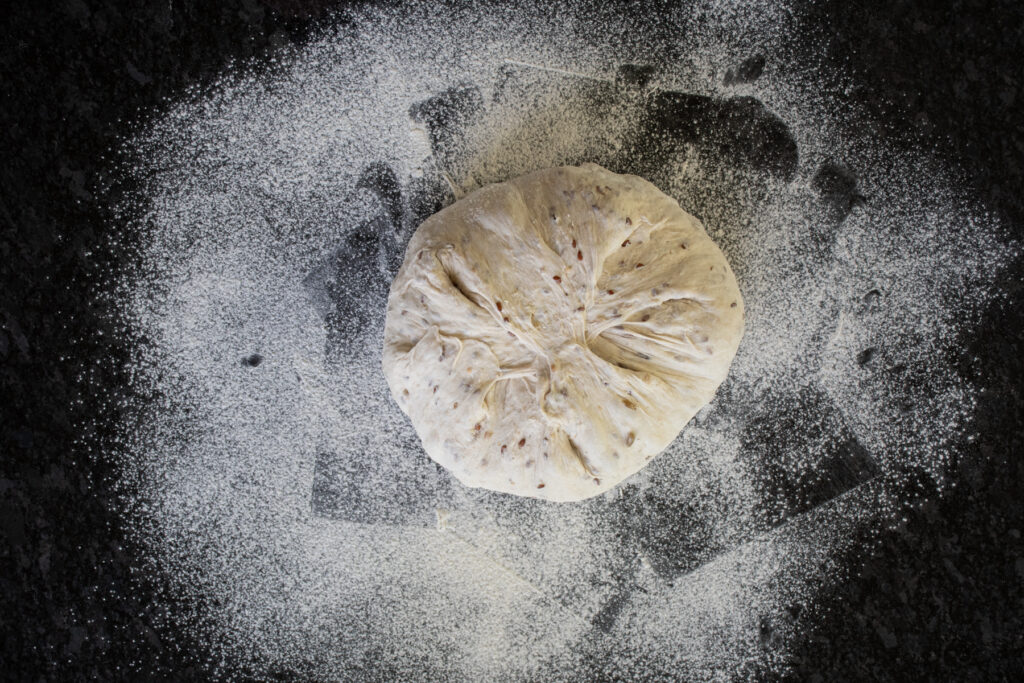 -Final shape. (Decide between freeform loaf using a banneton basket and Dutch Oven, or using a loaf pan. My preferred method is the loaf pan.) Shape into a round loaf for a Dutch oven or an oblong loaf for a loaf pan.
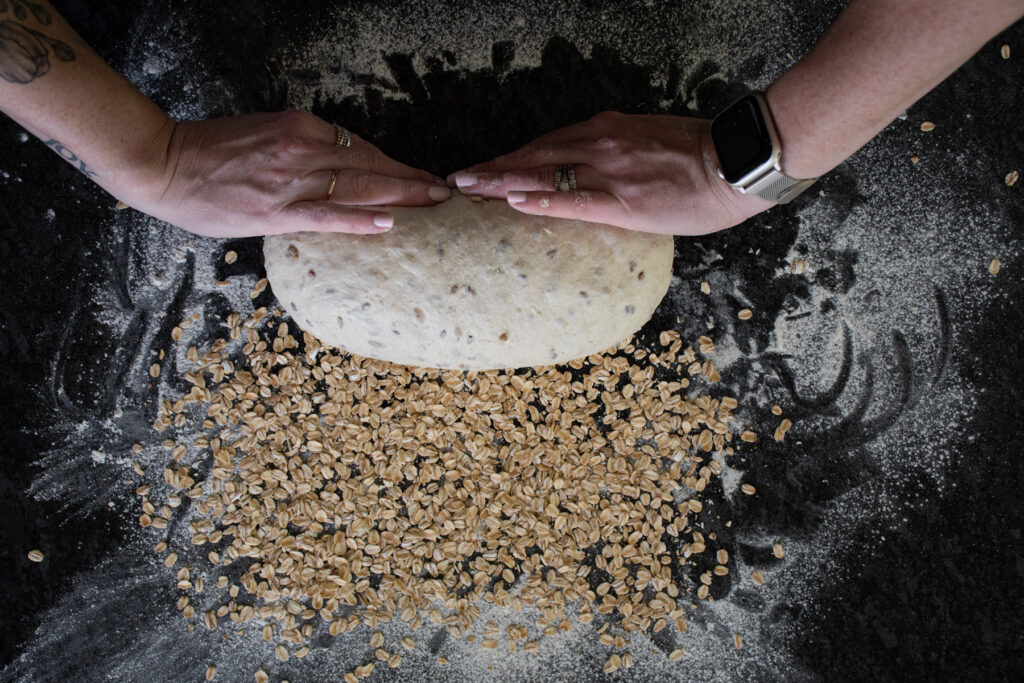
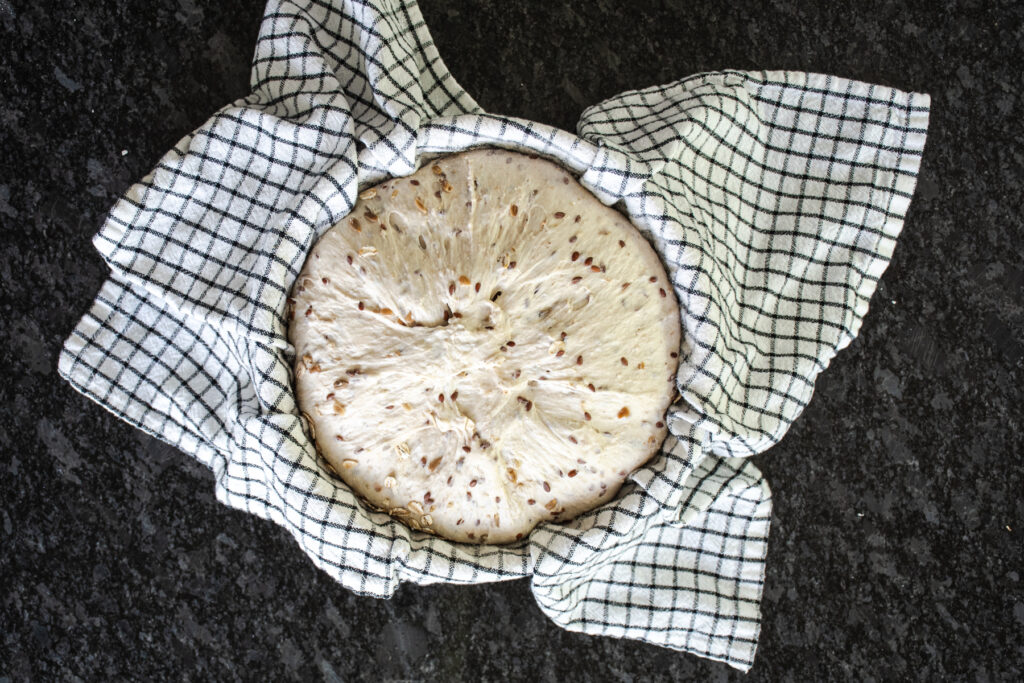
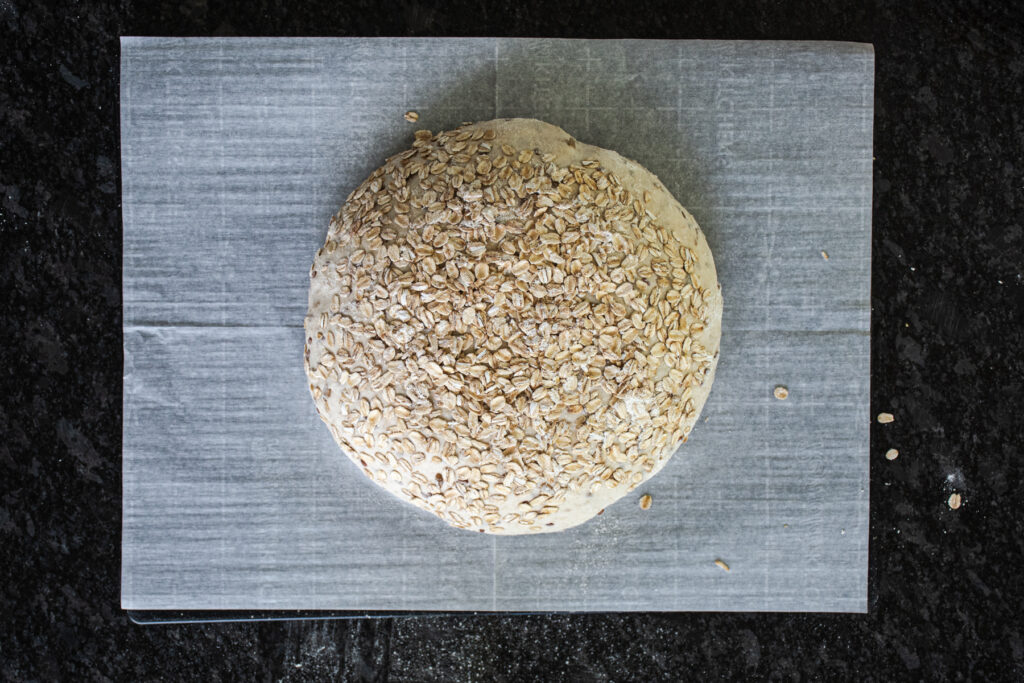
-Spray/mist the shaped loaf surface with water, then sprinkle oats on the counter next to the loaf. Roll the loaf onto the oats to coat the surface evenly. Transfer to a banneton proofing basket lined with a tea towel dusted with flour, or to a loaf pan sprayed with nonstick spray. Cover and let proof at room temperature for 1 hour, then transfer to the refrigerator to cold proof overnight.

Day 3, 1 hour prior to baking:
Loaf pan method- (See notes at the bottom of the recipe for using the freeform loaf method.)
-Remove dough from refrigerator to allow to come up to room temperature for a bit while the oven heats. Dough should be a bit rounded and puffed up near the top of the loaf pan but not necessarily doubled. It will spring up in the oven.
-Preheat oven to 425°F for 1 hour.
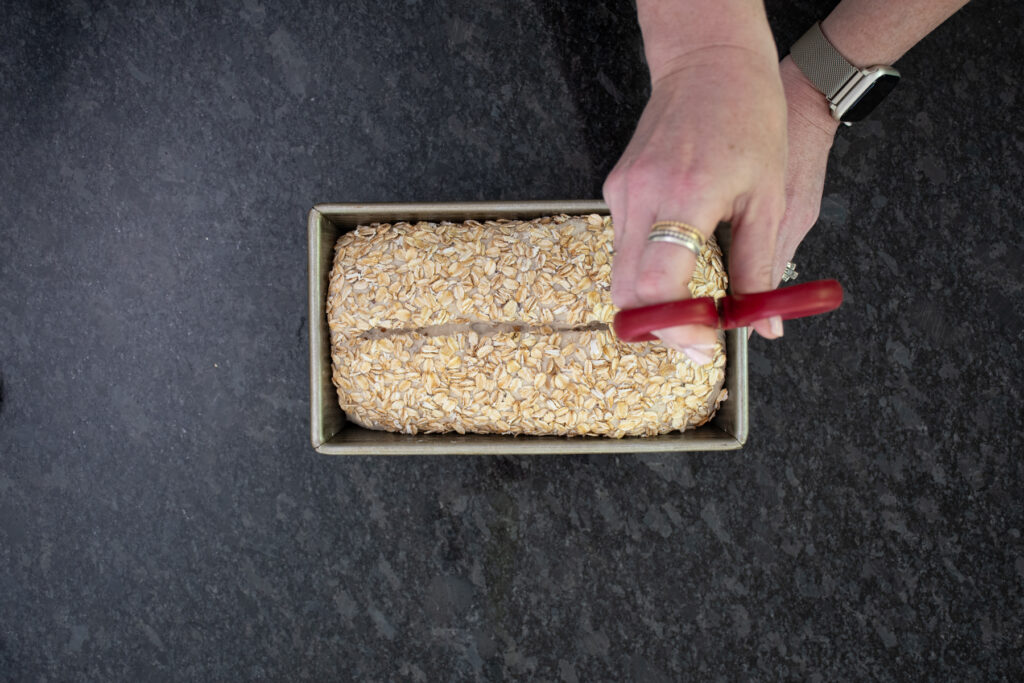
-Score the surface of the dough down the center lengthwise using kitchen shears (a knife or lame doesn’t cut through the oats well). Be sure to cut about 1 ½ inches deep to allow for expansion.
-Spray surface with a mist of water, then top loaf pan with an inverted loaf pan as a lid.
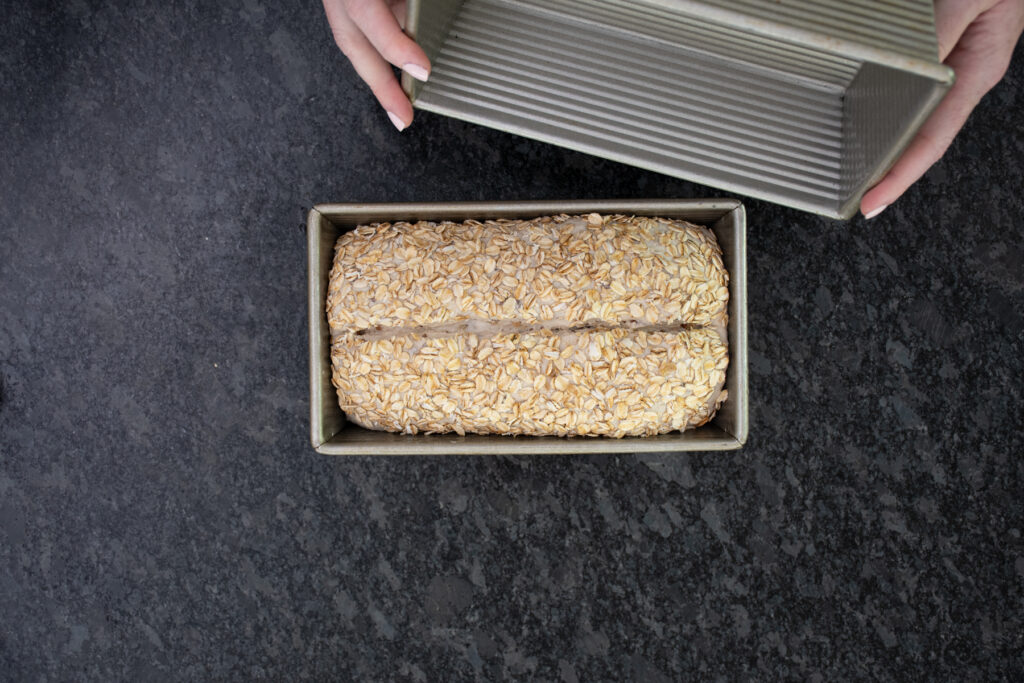
-Transfer to oven, making sure the pan you’re using as a lid is lined up properly. Reduce heat to 375°F and bake covered for 20 minutes.
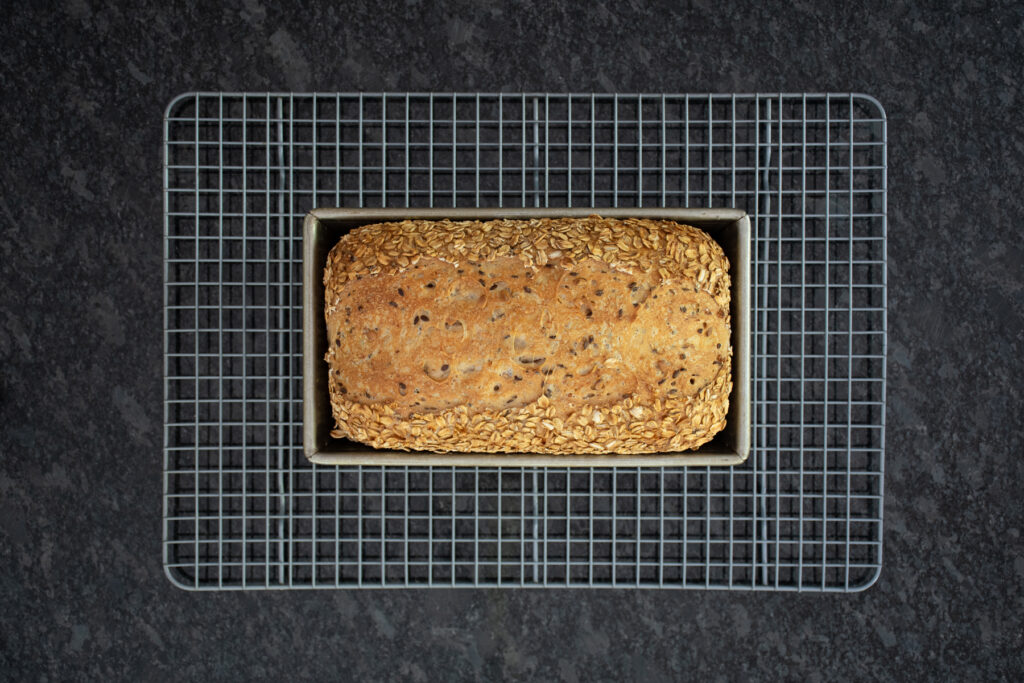
-Remove the “lid” from the loaf and bake an additional 22-25 minutes until golden brown.
-Transfer to a wire rack to cool completely before slicing.
Freeform loaf using a Dutch oven method-
-Day 3, Morning: Remove proofing basket from the refrigerator and let come up to room temperature while oven preheats.
-Place a Dutch oven and its lid into the oven and preheat to 500°F for 1 hour.
-Once the oven is preheated, lay a piece of parchment paper over a pizza peel or cutting board so you can flip the dough out of the basket onto the parchment paper.
-Use kitchen shears to score the loaf about 1 ½ inches deep. An X shape or 2 rounded line running lengthwise work well. (A knife or bread lame don’t cut through the oats well, so kitchen scissors work much better for this recipe.)
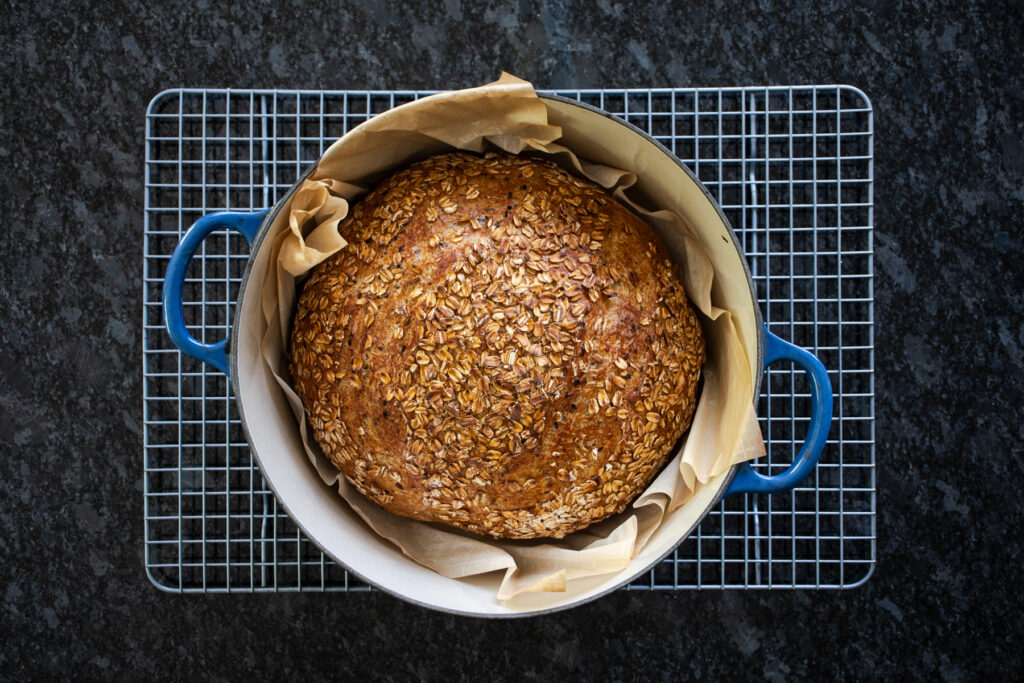
-Use the parchment as a sling to transfer to the preheated Dutch oven. Before covering with the preheated lid, spray the loaf generously with water before closing the lid over the dough.
-Lower temperature to 475°F and bake covered for 20 minutes. Remove lid and lower temperature to 450° to bake uncovered for 20 minutes until golden brown.
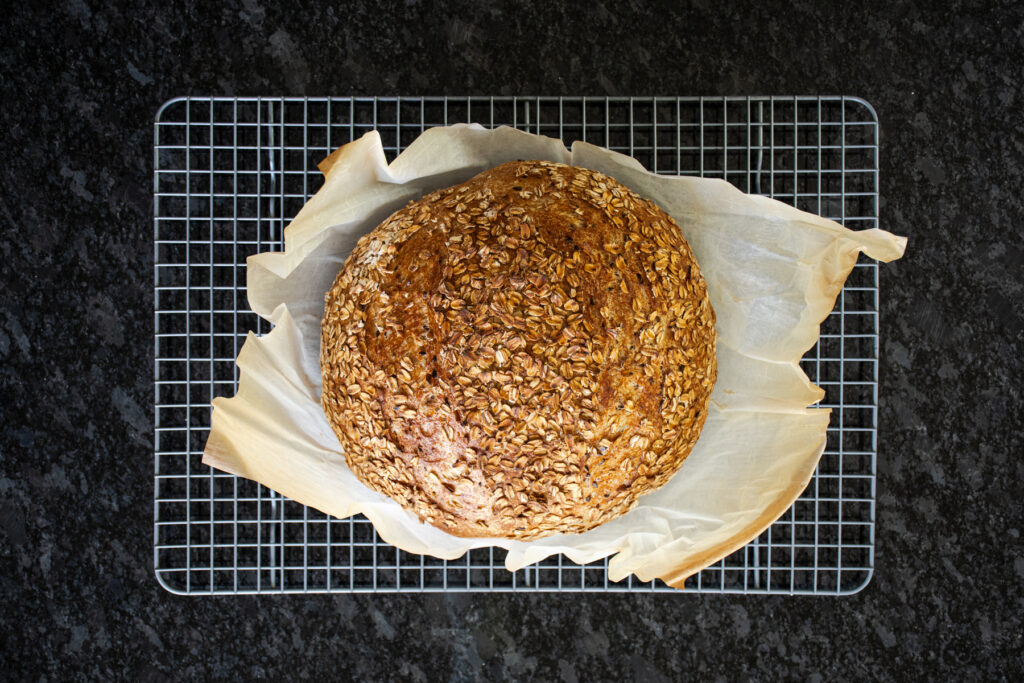
-Transfer to a wire rack to cool completely before slicing.
Keywords: seeded sourdough loaf, flax seeds, oatmeal, sunflower kernels
Thank you so much for visiting Kitchen Joy! I hope you found something that inspires you to get creative in your kitchen. Happy baking!

Beverly Donovan
This is a most delicious bread! I previously made your Sourdough Sandwich bread and loved that also - but this is my new favorite. I followed the recipe exactly, using King Arthur flour, Bob's Red Mill Flaxseeds, and roasted non salted sunflowers seeds. I baked in one loaf pan - 10 x 5 in, and used loosely wrapped aluminum foil to cover for the first 20 minutes, then removed to bake another 35 + minutes until the innner temp was over 190 degrees. While cooking, I also put a large baking sheet under it, in the lower rack to ensure that the bottonm of the loaf did not burn. It rose quite high in the pan for a gorgeous loaf. Easy to slice, light in texture, with a wonderful chewy taste.